Bright Colors Make Me Happy — FMS112

It’s hard to believe but it’s Wednesday again!  And Jen Brum has a real treat for us this week.  Look at this fun sketch from the Freshly Made Sketches site:

Isn’t this a fun, original sketch?  I had lots of ideas for this one, and ended up really wanting to use washi tape and some bright colors.  Both of these things make me happy.

Washi Makes Me HappyThis was a simple card to make.  Washi tape makes card-making really easy and fast.  The most time-consuming part of this card was threading the buttons (I don’t like naked buttons on my cards :)).

I hope you’ll join us with this sketch!  The design team made some fabulous cards this week, so go by the Freshly Made Sketches site and take a look.

Enjoy your Wednesday!  Thanks for stopping by!

Supplies Used:
Stamps:  Hello, Lovely
Ink:  Marina Mist
Paper:  Marina Mist, Whisper White
Embellishments:  Gingham Garden Designer Washi Tape, Witches’ Brew Designer Washi Tape, Brights, Neutrals and Regals Designer Buttons, Island Indigo Baker’s Twine, Subtles Candy Dots

Same Technique, Same Sketch, Two Different Cards — Monday Montage #5

Monday Montage Banner -- October

We have another Monday Montage blog hop prepared for you this evening.  At the end of this post, just click on one of the buttons to continue or start your journey through all ten blog postings.

I  have been wanting to play with a technique I first saw a few months ago — using stencils and fiber paste.  I’m sure this technique has been around for a lot longer than that, but that’s when I first saw it.  Another stamper, Mona Pendleton, uses this technique to perfection, and I love her style.  Her style is totally different than mine — she uses lots of mixed media products and is able to incorporate so many beautiful elements onto each scrapbook page and card.  Each of her creations is like a work of art.

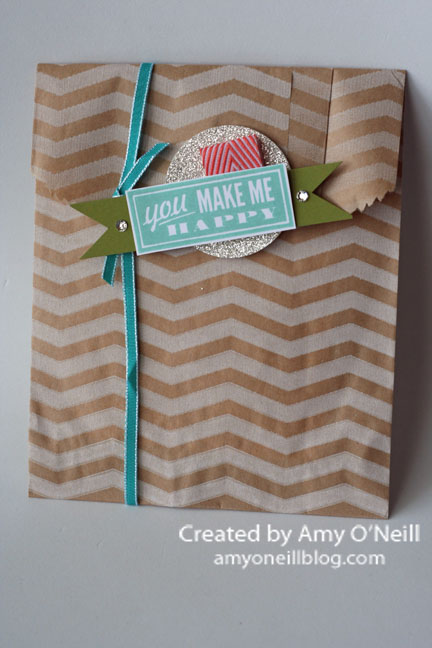
I bought a jar of fiber paste at a big box craft store and decided to play around with it using the stencils from the Build a Banner Simply Created Kit.  I made two cards last night using the same sketch.

On the first card, I just scooped out some of the fiber paste onto the stencil and spread it out with a popsicle stick.  After the paste dried, I embellished the rest of the card.

Leaf Fiber PasteI wanted it to have a rough and uneven texture, so I didn’t smooth it out completely.  Here’s a closer view of the fiber paste:

Leaf Fiber Paste Close-upFor the second card, I wanted to see how the fiber paste would look if I added ink and colored it.  I just mixed a scoop of the paste and three drops of Tempting Turquoise re-inker in a small cup, and then spread it on the stencil.

Bright Fiber PasteI love how you could easily make any color of fiber paste you like.  It was really simple and fun.  Here’s a closer look at the paste on this one:

Bright Fiber Paste Close-upWhen I try this again next time (there will definitely be a next time), I think I’ll apply a thicker layer of the paste and see how that works.

If you’ve used fiber paste before on your paper crafting, let me know any tips or tricks you have!  I’d love to know!

Now you’re ready to hop on over to the talented Breelin Renwick’s blog, or you can work your way backwards by starting with Wendy Weixler’s blog.  Either way, just follow along until you see all ten blogs.  Enjoy!

mondaymontageback (1)

mondaymontagenext copy

Have a great Sunday evening!  Thanks for stopping by!

Supplies Used (Card 1):
Stamps:  Magnificent Maple, Truly Grateful, Gorgeous Grunge
Ink:  Chocolate Chip, Tangerine Tango
Paper:  Crumb Cake, Very Vanilla, Sweater Weather dsp
Embellishments:  Fiber Paste (non SU), Build a Banner Simply Created Kit, Naturals Designer Buttons, Crushed Curry 3/4″ Chevron Ribbon, Early Espresso Baker’s Twine, Color Spritzer tool (retired)

Supplies Used (Card 2):
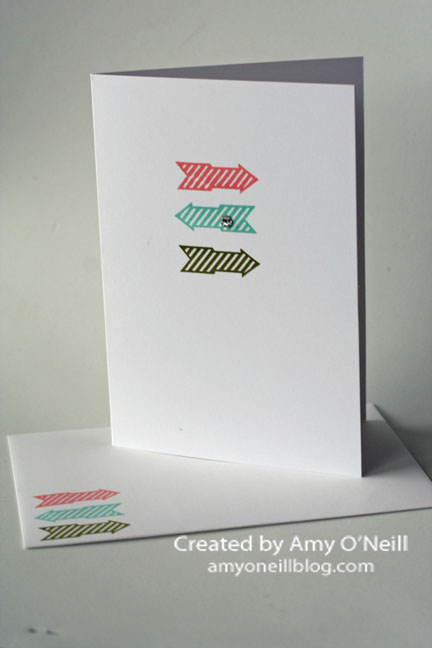
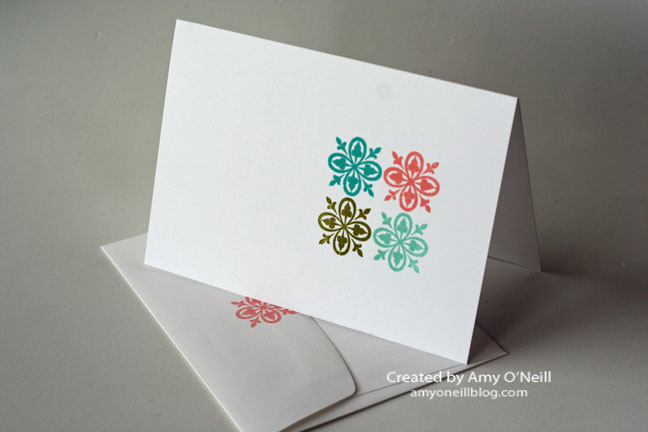
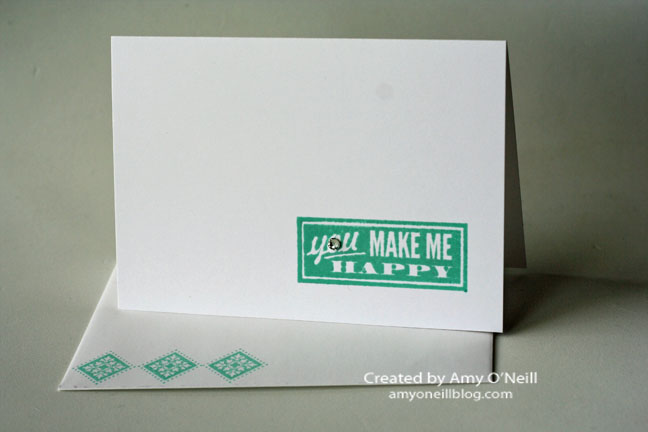
Stamps:  Hello, Lovely; Gorgeous Grunge
Ink:  Tempting Turquoise, Pumpkin Pie, Crushed Curry
Paper:  Whisper White, Quatrefancy Specialty dsp
Embellishments:  Fiber Paste (non SU), Brights Designer Buttons, White Baker’s Twine, Smoky Slate 3/4″ Chevron Ribbon, Build a Banner Simply Created Kit, Typeset Alphabet Bigz die, Color Spritzer tool (retired)

Two Last Hello, Lovely Projects

I’ve been featuring the Hello, Lovely stamp set all week, and today I’m sharing my last two projects with you.

Hello Lovely Display 3dThis project uses one of the super fun Tag a Bag Gift Bags.  I die cut the largest heart from the Hearts Collection Framelits and did some “crazy sewing” with my little sewing machine.  I added a wrinkled up doily and some fun embellishments using the Hello, Lovely stamp set.

Hello Lovely Display 3d - close upI thought this was a pretty color combination — Blushing Bride, Aqua Mist, Crumb Cake, and Midnight Muse.

My second project is a card.

Hello Lovely Display 4I didn’t get a good picture of this before I sent it off for the Convention display boards, but I used my Simply Scored Scoring Tool to make score lines above and below the row of medallions.  I also added some Dazzling Diamonds to the medallions for a little sparkle.  I love Crisp Cantaloupe and Calypso Coral together.

Well, that’s it for Hello, Lovely week.  Though I’m sure you’ll be seeing more Hello, Projects in the future.  Enjoy your Saturday!  Thanks for stopping by!


The Forgotten One(s)

Hello Lovely Display 2I’m not sure why, but I keep forgetting that I have this embossing folder, the Modern Mosaic folder.  Actually, there are a couple of products on this card that I don’t use enough. Pistachio Pudding is one of the colors that I really like, but it just doesn’t come to mind when I sit down to make a card.  I find that I tend to gravitate to the same colors — mainly blues for me.  Hmmm…maybe I need to be more intentional in selecting my card colors.

I think this card is a slightly different style for me with this stamp set.  I’ve been featuring the Hello, Lovely set this week, and while almost all of my cards are clean with straight lines (because that seems to be my favorite style), this card has a different feel to it than the others this week.  This is another card that I made for the display boards at Convention this summer.

Enjoy your Friday, and come back tomorrow for one more Hello, Lovely project.  Thanks for stopping by!

You Make Me Happy in Shades of Pink

Hello Lovely Display 1Here’s another card using the Hello, Lovely stamp set for you.  I stamped the medallion repeatedly on the Crisp Cantaloupe card stock with Whisper White Craft ink.  I then made the flower by punching out several layers of Creped Filter Paper using the Blossom punch.  I used Blushing Bride as an accent color on this — don’t Crisp Cantaloupe and Blushing Bride look great together?

Enjoy your Thursday!  Thanks for stopping by!


Ampersand Happy — FMS103

It’s Wednesday, and that means it’s time for a new challenge at Freshly Made Sketches. The lovely and talented Jen Brum has a fabulous sketch for us this week:

I just love this sketch!  I know I’ll be using it again and again!  Since I’m in the middle of Hello, Lovely week here on my blog, I wanted to continue with that theme.  I’m using the same stamp set on all of my projects this week, hoping to show you how versatile this set truly is.

Happy Pastels -- FMSAmpersands are so trendy right now.  This stamp set has a cute ampersand image in it, but for this card I used the ampersand from the Typeset Alphabet Bigz die collection.  I stamped the So Saffron medallion repeatedly on the Very Vanilla card stock piece (using a Stamp-a-ma-jig to help with placement).

I haven’t used Blushing Bride enough since that color was brought back this summer.  I love it with the other three colors used here.

Swing by and check out what the other designers have to share at the Freshly Made Sketches site.  You’ll be inspired, and then hopefully you can play along with us this week.

Enjoy your Wednesday!  Come back tomorrow for another Hello, Lovely project.  Thanks for stopping by!

Supplies Used:
Stamps:  Hello, Lovely
Ink:  So Saffron, Coastal Cabana
Paper:  Blushing Bride, Basic Gray, Very Vanilla, Afternoon Picnic dsp
Embellishments:  Subtles Designer Buttons, White Baker’s Twine, Typeset Alphabet Bigz dies, Basic Gray 1/4″ Stitched Grosgrain Ribbon, Subtles Candy Dots, Pearl Basic Jewels

Hello, Lovely Week —

mondaymontageheader

It’s time for another Monday Montage Blog Hop!  I love seeing what the other designers have to share each time, and I hope you enjoy the links to see the work of these great designers.

I thought it would be fun to have another theme week on this blog where one stamp set is featured for the entire week.  And the stamp set I chose for this week is Hello, Lovely.

I’m starting tonight with a scrapbook page that I made for the Convention display boards. It’s a page that features my youngest child.

Hello Lovely Display Scrapbook

To start this page, I started with a 12″ x 12″ page of Whisper White card stock and trimmed it down to about 11″ x 11″.  I then mixed some Strawberry Slush re-inker and rubbing alcohol, and using a spritzer, I spritzed the page to add some color.  I then used the Petite Pennants Builder punch and punched out a banner, which I then traced with a pencil across the spritzed card stock.  I used an exacto knife to cut out the banners.  I then placed a sheet of Coastal Cabana polka dot dsp from the Color Collection dsp stack behind the white spritzed sheet.  My cut-out banners then appeared as Coastal Cabana polka dot banners.  I added some punched out Crisp Cantaloupe patterned banners in between the Coastal Cabana banners, and lots of little embellishments.

Hello Lovely Scrapbook Close Up 2

I added some crazy machine stitching and other embellishments in the top corner.

Hello Lovely Scrapbook Close Up

I added some more embellishments in the bottom corner.  The stamps in this set are so fun for scrapbooking.

Hello Lovely Scrapbook Close Up 3

Now you’re ready to hop on over to Breelin Renwick’s blog and check out her amazing project.  If you prefer, you can go backwards and see Wendy Weixler’s awesome project.  Either way, make sure you hop through all ten projects so you don’t miss out!

mondaymontageback (1)

mondaymontagenext copy

Enjoy your Sunday evening!  Thanks for stopping by!

Convention Make & Takes — Part 2

I shared three of the four Make & Takes from convention on Thursday.  Here is the fourth and final one:

Hello, Lovely Card SackIt’s a Tag a Bag Gift Bag filled with cards and matching envelopes, which were made with the Hello, Lovely stamp set.

Here are some pictures of the simple cards inside:

Hello, Lovely 1Hello, Lovely 2Hello, Lovely 3Hello, Lovely 4This would make a great gift for someone, and it was so easy to make.

Enjoy your Saturday!  Thanks for stopping by!

Convention Make & Takes — Part 1

One of the things I love about Convention is that we are given some great Make & Take packets.  In the past, I have made the projects at Convention and brought them home.  But this year, we decided to call them Take & Makes, and we didn’t make them at Convention, but brought the packets home and made them at home.  I’ll share three of them with you today.

Celebrate BagThis first project is a cute little Tag a Bag Gift Bag that was made into a gusseted sack and decorated with the Tag a Bag Accessory Kit and the Tag It stamp set.  I love the little clothes pins that come in the accessory kit.

Grungey Make and TakeThis second project is a fun card decorated with the Gorgeous Grunge Stamp Set and the Hello, Lovely stamp set.  I love the little bit of glimmer paper on it.

You're the Best Box


This last project that I’m sharing today is one of the Tag a Bag Gift Boxes.  It is decorated with the Hello, Lovely stamp set and some handmade feathers.  Very fun!

I’ll share the fourth project with you in another post later.  It requires a few pictures and I didn’t want to make this post too long.

Enjoy your Thursday!  Thanks for stopping by!