So, have you heard that Stampin’ Up! has partnered up with Project Life? A match made in heaven, I tell you! Project Life is a scrapbooking system that provides a quick and easy way to document your life with pictures and journaling.
In honor of National Scrapbooking Day yesterday, I decided that I needed to get started with my Project Life album and I made two pages in less than an hour. Normally, when I scrapbook it takes me a couple of hours (at least) to make one page. I think I’ll get even faster with making my Project Life pages once I get better with printing and taking my pictures. That tells you how often I actually take them off my phone and camera and print them out. 🙂
Here’s a helpful tip for you if you choose to use Project Life. When I take pictures, I don’t worry about whether I’m taking them with a portrait orientation or a landscape orientation. But with the Project Life photo sleeves, it helps to be consistent. There are pages for both orientations, so you can choose either way.
Here’s a page I made to document our Easter weekend.
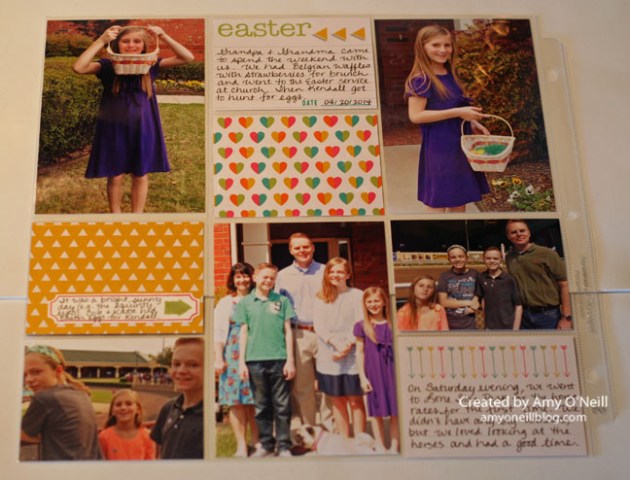
What makes Project Life so easy and quick is that you just slide your photos in the photo sleeves. Then you can add some of the cards. Some cards have lines or room for journaling and some are just for decoration.
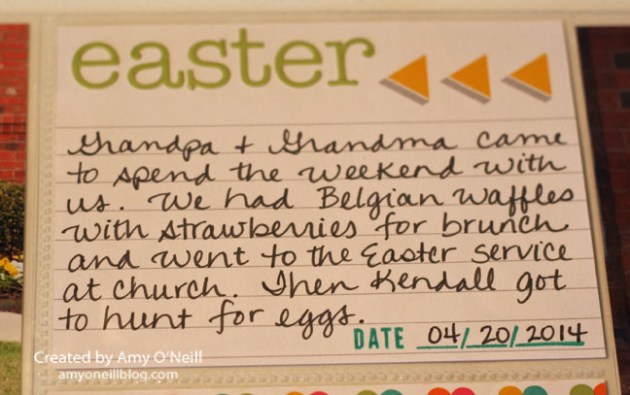
On this card I also used some alphabet stickers which are included in the accessory pack to spell out “Easter.” The date stamp at the bottom of the card is from the Day to Day photopolymer stamp set.
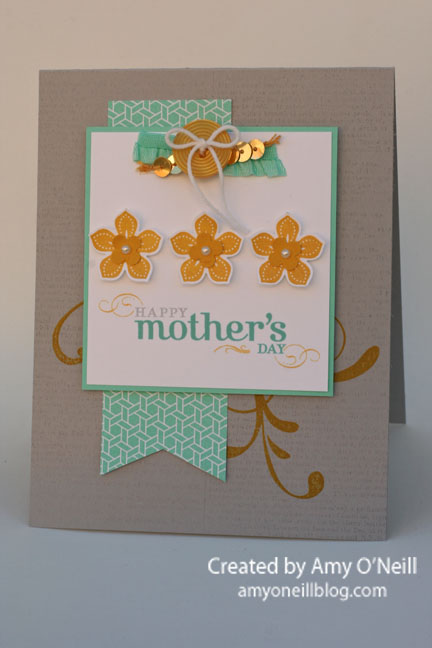
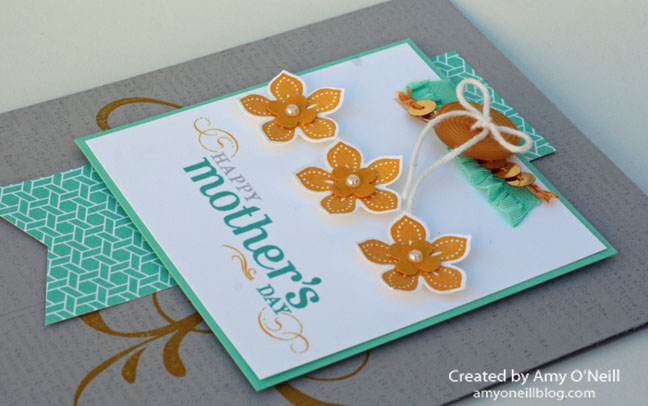
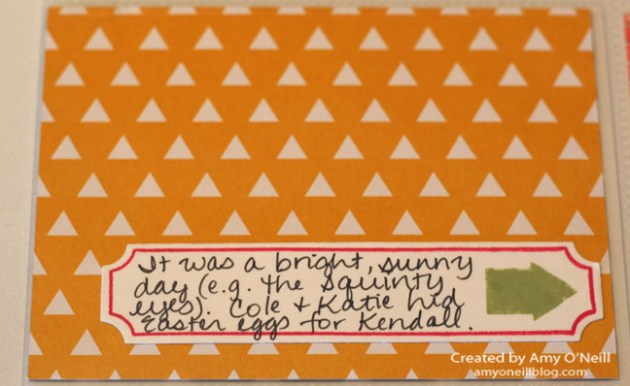 On this card, I stamped the Strawberry Slush border on Whisper White card stock with the new Point and Click photopolymer stamp set. The Pear Pizzazz arrow is from the same set. I then used one of the new Cards & Labels Project Life framelits dies to cut it out.
Here’s a look at the new products available now.


Enjoy your Sunday! Thanks for stopping by!

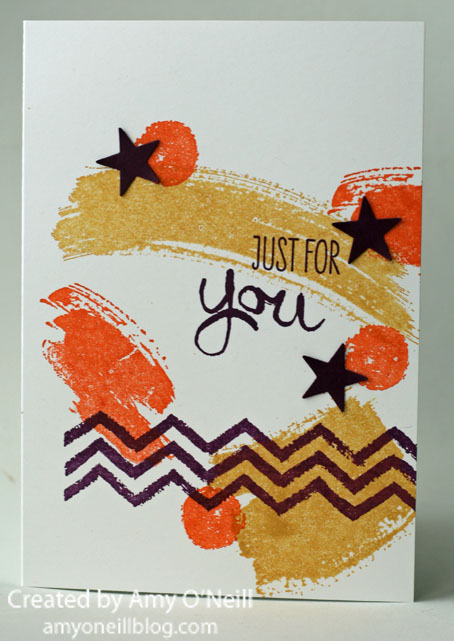 I needed to send a card to a teenage boy in our youth group at church, and I don’t know about you, but I think those are the hardest of all to make. Guy cards are just hard. And teenage guy cards…well they’re even harder.
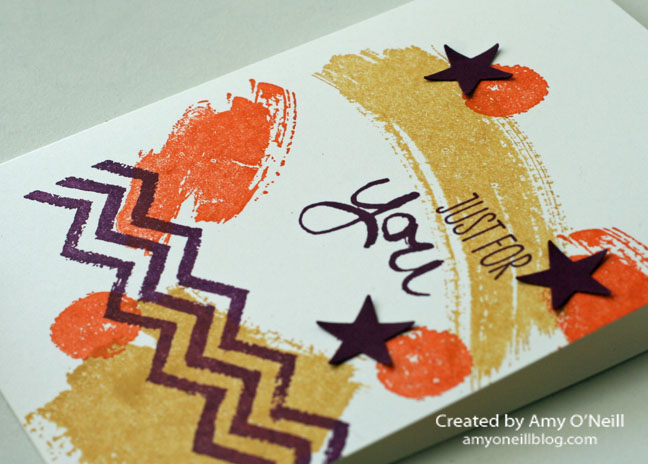 I used three of the new In-Colors that will be available with the new catalog in just two short weeks — Hello, Honey (yellow); Blackberry Bliss (purple); and Tangelo Twist (orange).

 I needed a birthday card, so I pulled out the Birthday Basics dsp that I have left. I also used the Chalk Talk stamp set and coordinating framelits.
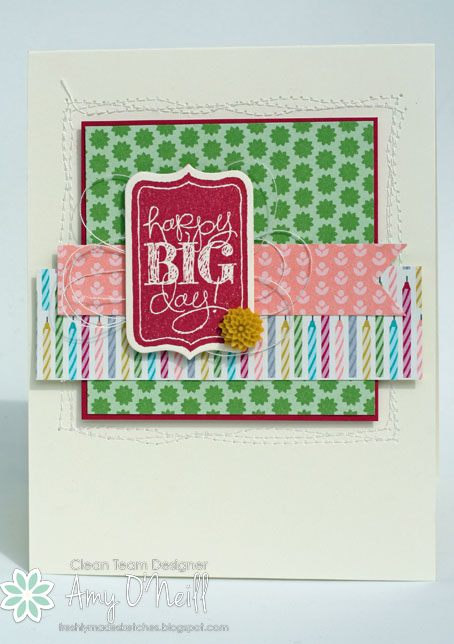
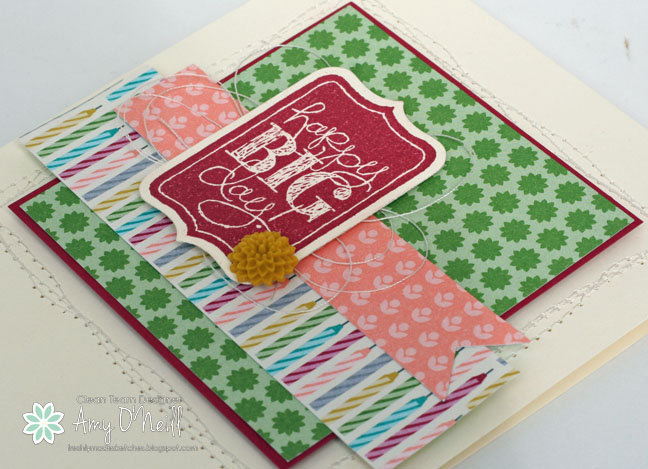


 I haven’t used the Chalk Talk set in a while, so I pulled it out. I paired it with the Etcetera dsp and used a few different ribbons, most of which are retiring.