A Mother’s Day Gift Set — Stampin’ Up! Artisan Blog Hop

Welcome to another Stampin’ Up! Artisan Design Team Blog Hop!  There are 20 of us from around the globe who will be sharing our projects with you twice each month.  All you need to do to follow along is click on the link at the bottom of each post.

I don’t know about you, but I find the last two months of the school year to be the busiest. With three kids there is always something going on, but during April and May it seems like our calendar gets even more crowded with events and things to do.  If I can get some things done ahead of time, I know I’ll appreciate it later.  So please bear with me as I show you a Mother’s Day project now even though that occasion isn’t for a few more weeks.  Don’t panic — you still have plenty of time to make your own Mother’s Day gifts!

Mother's Day Set GroupI prepared a little gift box using one of the Takeout Boxes and decorating it for the occasion.  A little 3-1/2″ square note card will be perfect to tuck in with it.  Both items feature the Circle of Spring stamp set and coordinating Wonderful Wreath Framelits Dies, as well as the Bow Builder punch.

The Takeout Boxes are so easy to fold up and decorate.  I made a belly band to wrap around the gift, which is easy to slide on and off without messing anything up.  I started with a strip of Everyday Chic Designer Series Paper and wrapped some of the beautiful Watermelon Wonder 1″ Stitched Satin Ribbon and Basic Black Baker’s Twine around it.  A Tea Lace Paper Doily was placed on top with the wreath and bow.

Mother's Day Set BoxI used a color scheme of Watermelon Wonder, Daffodil Delight, and Old Olive inks, which were applied with a Blender Pen.  The bow, made with the Bow Builder Punch, dresses it all up a little bit.

The notecard is a copy of the wreath on the box, all the way down to the bow.  I made the card base with the Kraft Cardstock — love this stuff!  It matches the box really well.  Some little Pearl Basic Jewels are added around the wreath.

Mother's Day Set Card

You’re ready to hop on over to The Netherlands and visit Chantal de Kaste’s blog by clicking on the link below.  You can use Google Translate for any blogs for which you need translation help.  It’s so fun to hop around the world!

Bloghop button_0915


Supplies Used:
Stamps:  Circle of Love
Ink:  Daffodil Delight, Watermelon Wonder, Old Olive, Tangerine Tango, and Basic Black
Paper:  Kraft Cardstock, Everyday Chic Designer Series Paper, Whisper White, Daffodil Delight, and Watermelon Wonder
Embellishments:  Takeout Boxes, 1″ Watermelon Wonder Stitched Satin Ribbon, Basic Black Baker’s Twine, Tea Lace Paper Doilies, Bow Builder Punch, Wonderful Wreath Framelits Dies, Pearl Basic Jewels, Blender Pen, 1″ Circle Punch

Donuts Just for You — FMS230

Are you ready for another sketch challenge over at Freshly Made Sketches?  Well, it’s Wednesday, so that means that it’s time for one.  And this week, our talented Canadian friend, Jen Brum is our hostess.  Here is the great sketch she has for us:

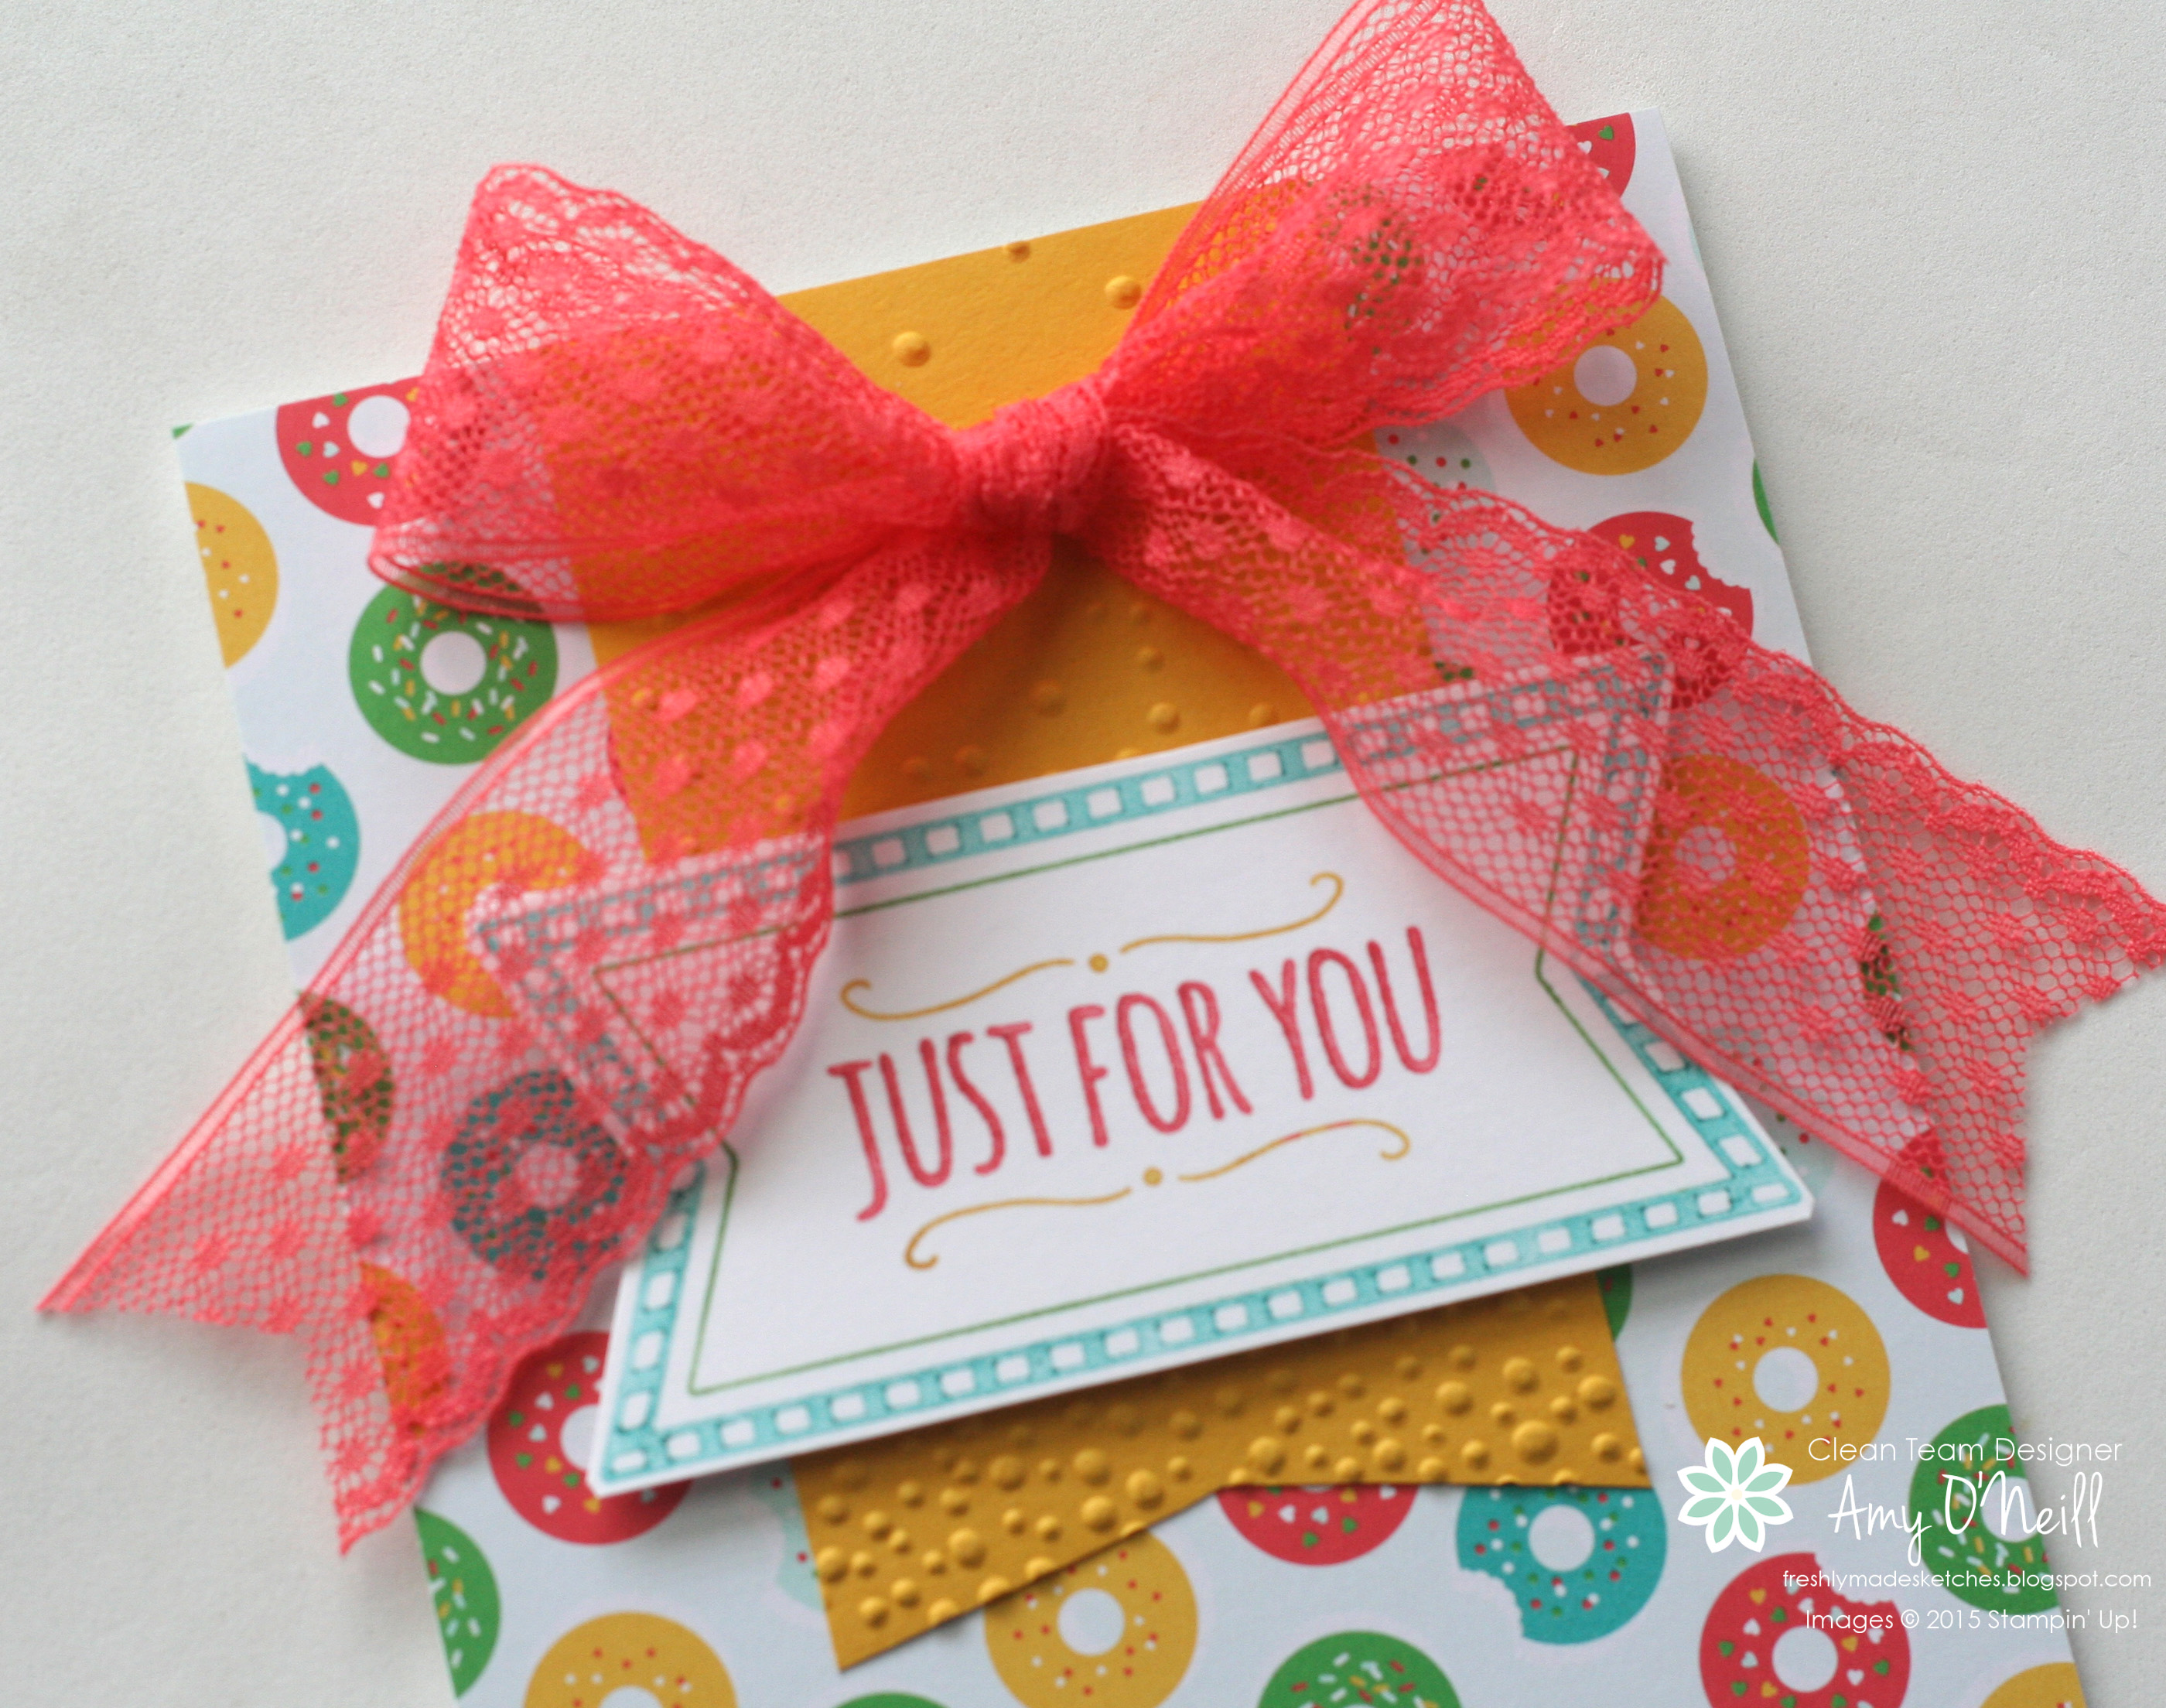
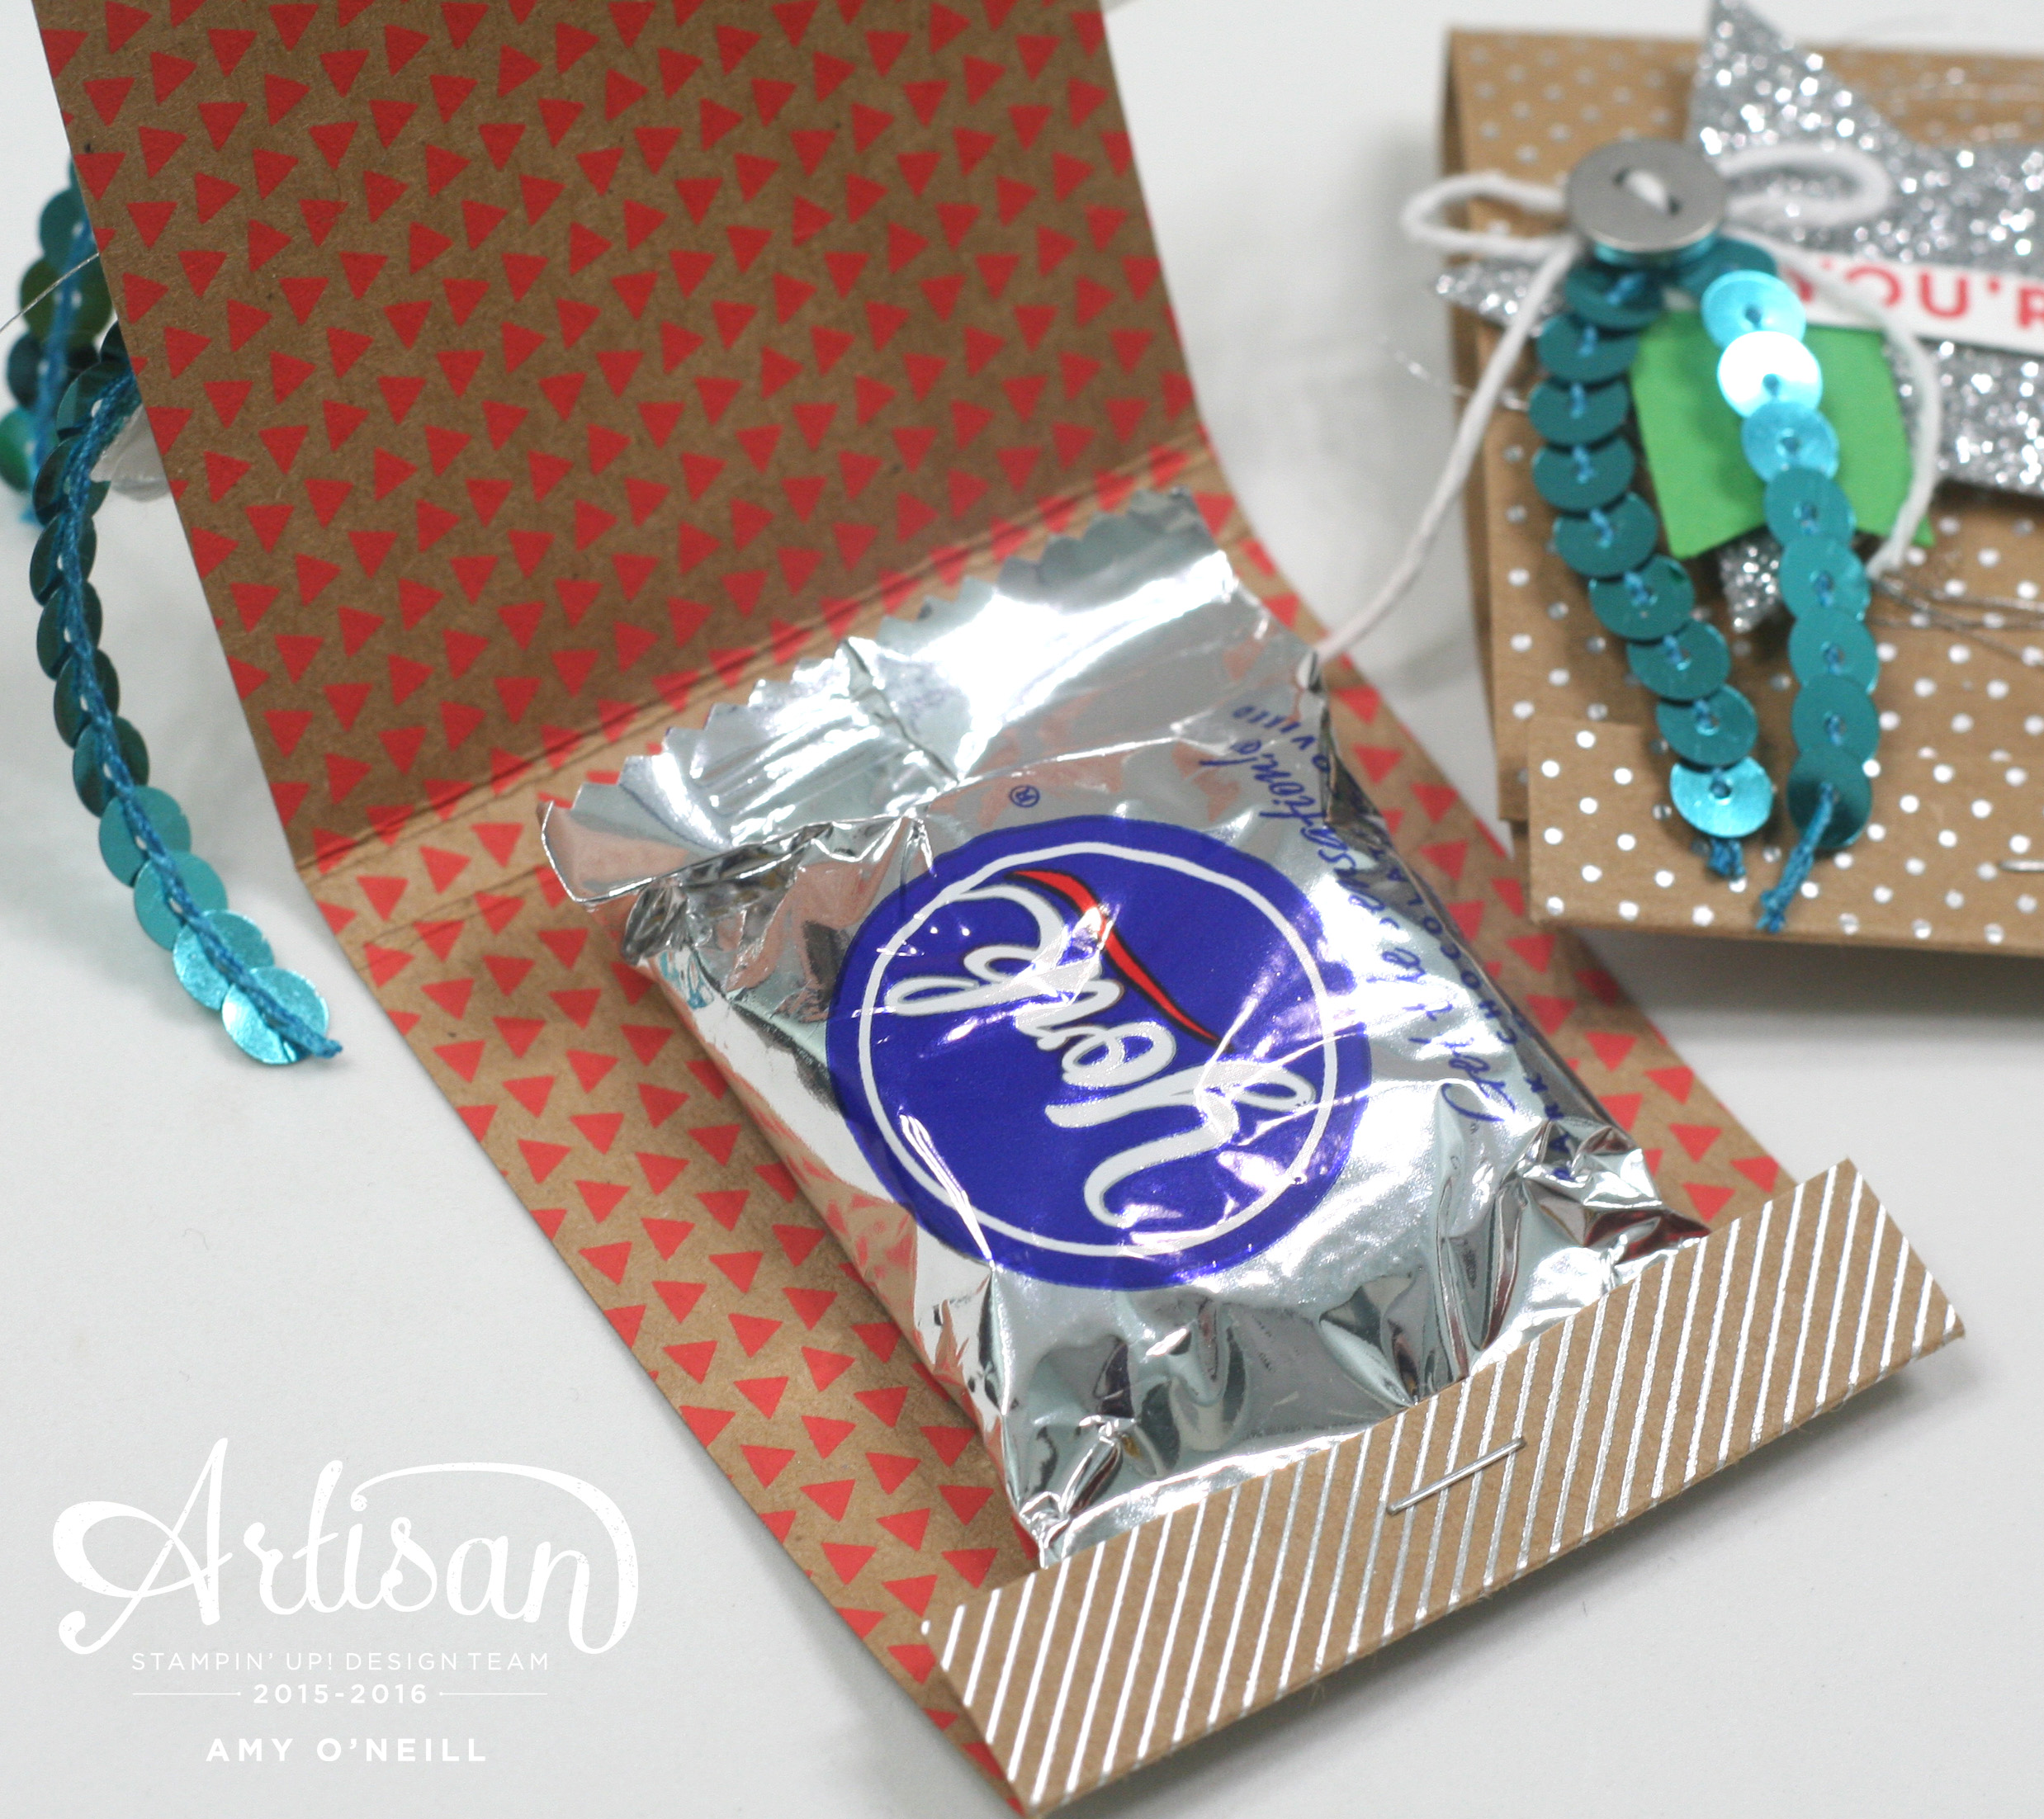
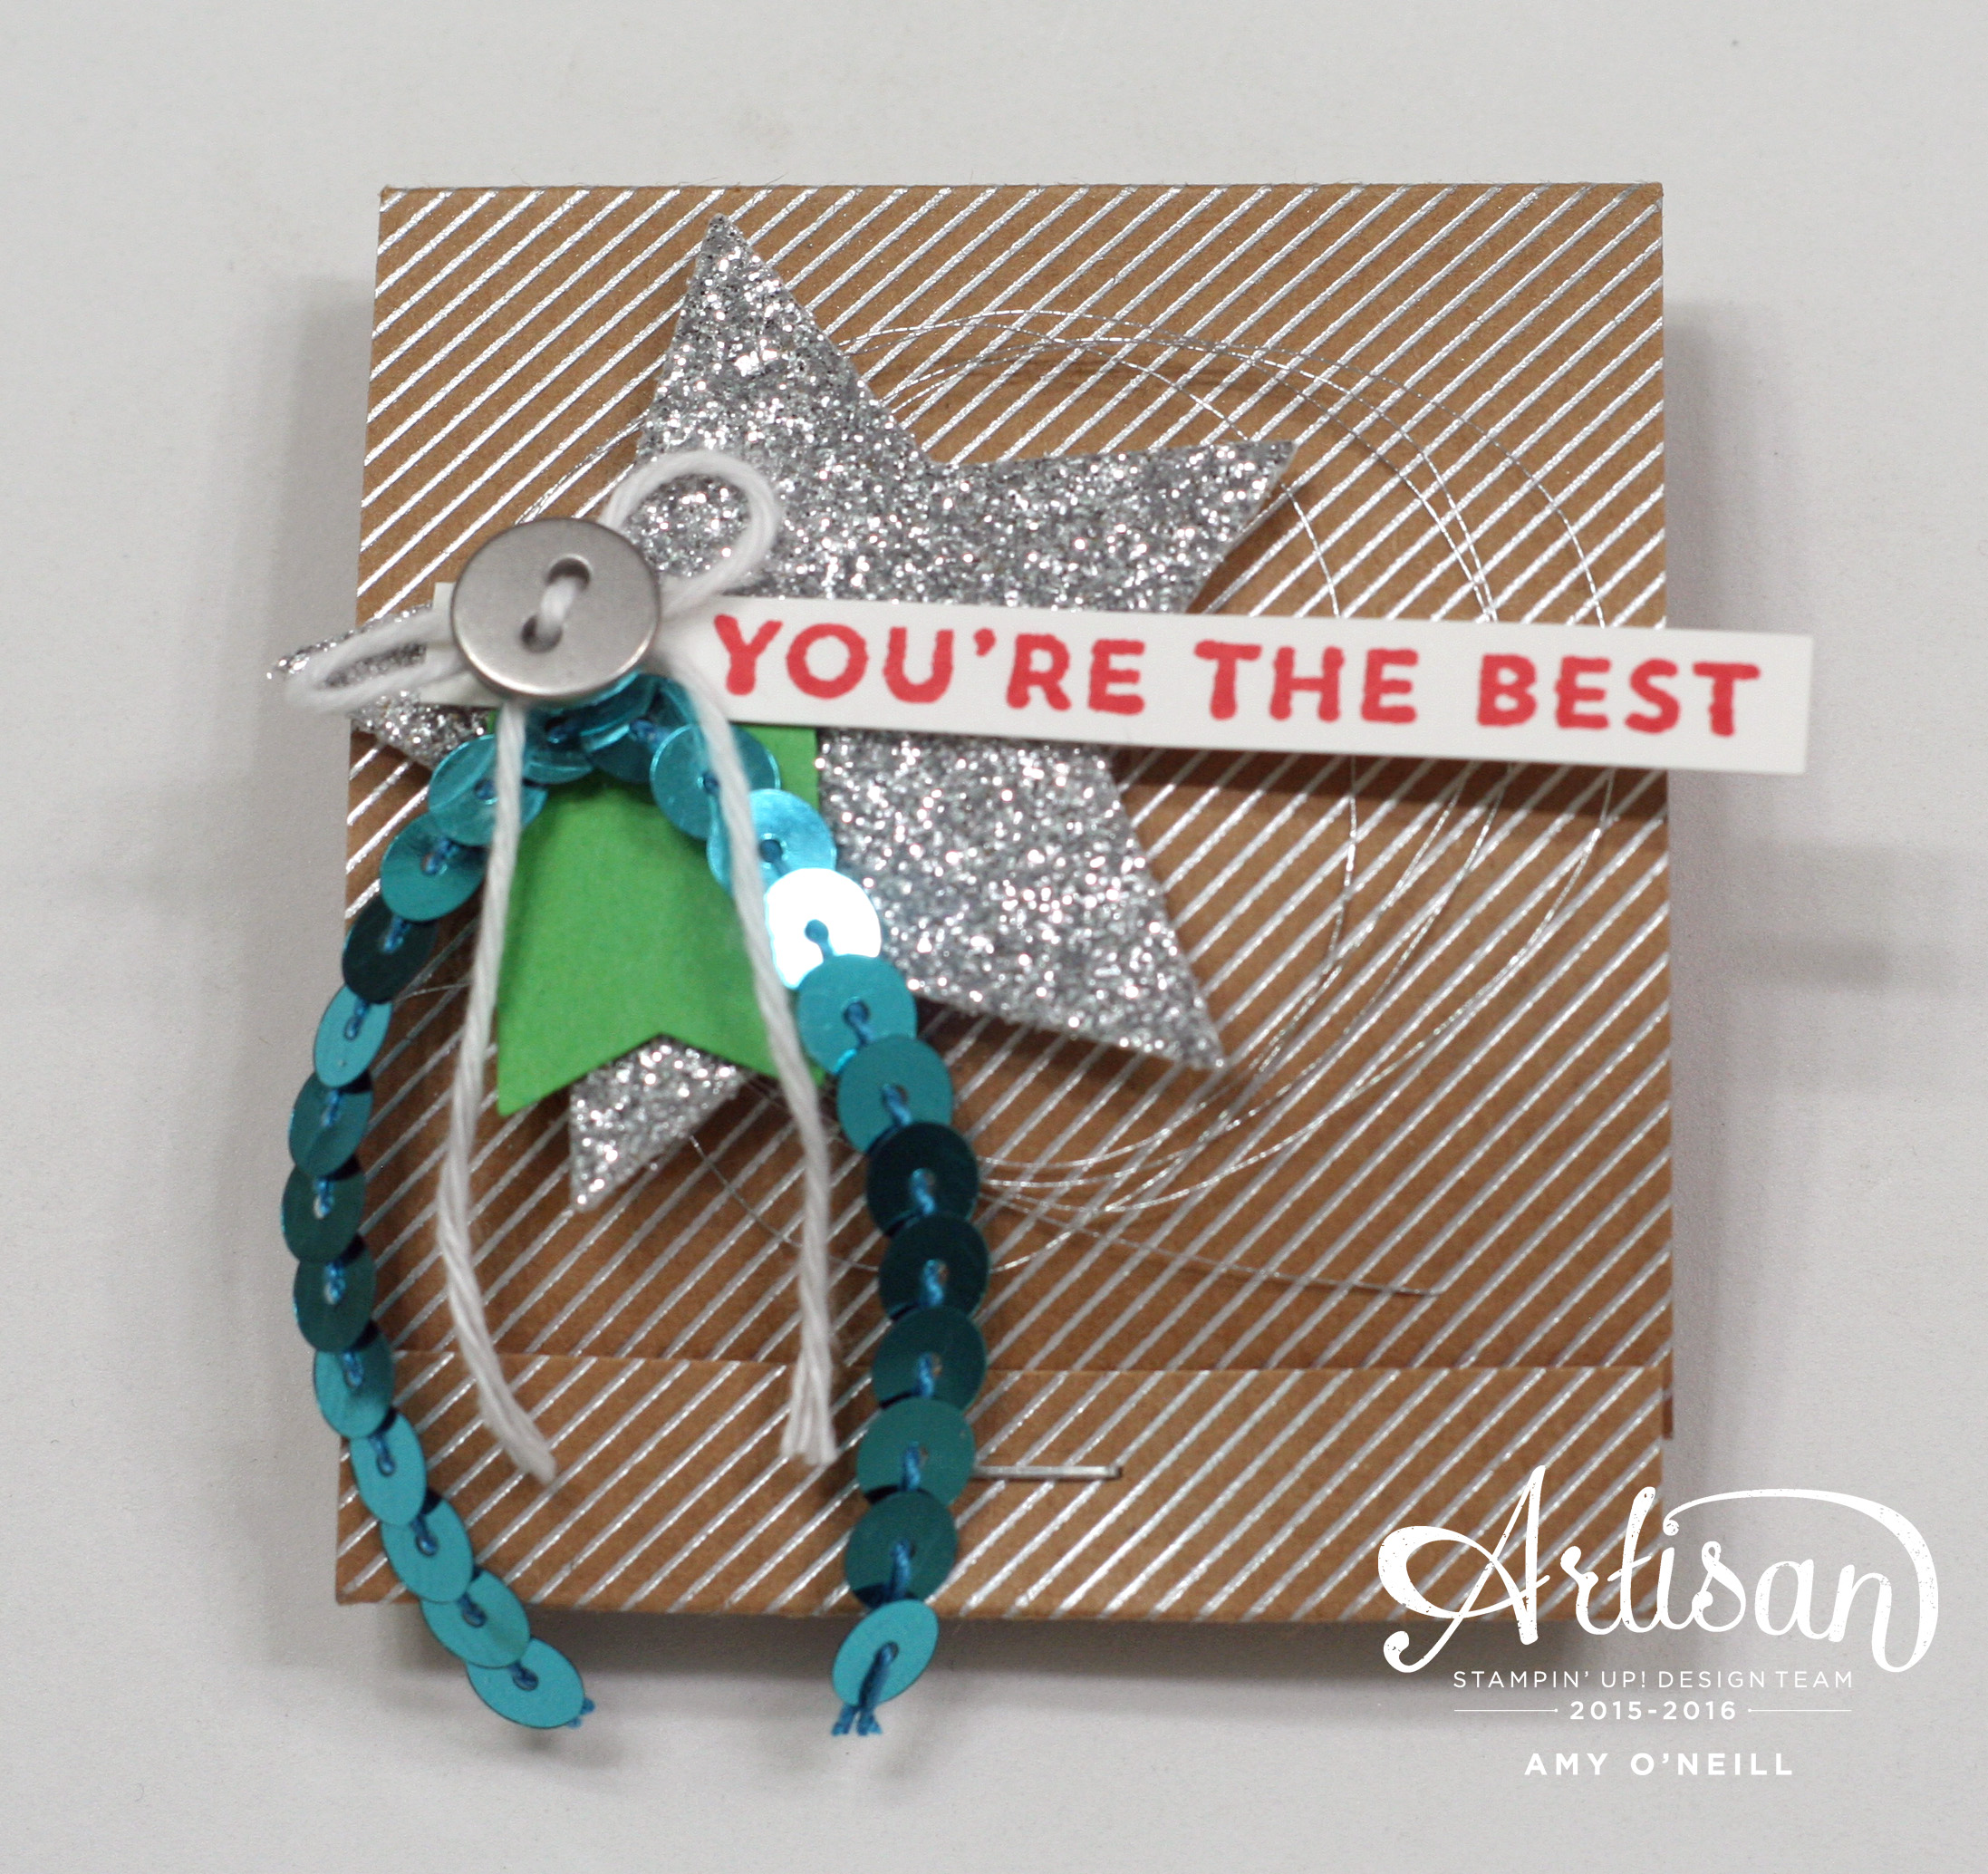
I pulled out a stamp set that hasn’t seen ink in a while — You’re So Sweet.  I paired it with some Cherry on Top dsp.  I love this paper!

Donuts for YouI thought this card would be cute to tuck in with a birthday present that one of my girls can give to a friend.  It’s always good to have those on hand.  I keep a basket of cards from which they can choose on my desk, and they’ll look through them and pick one that they think their friend will like whenever they need one.

Donuts for You Close UpWe hope you’ll play along with us this week!  Meanwhile, you should hop on over to the Freshly Made Sketches site for a dose of creative inspiration from the design team.  They always inspire me!

Enjoy your Wednesday!  Thanks for stopping by!


A Bunch of Awesome Blossoms — FMS229

It’s time for another new sketch over at Freshly Made Sketches, and this week our sweet friend in Florida, Cindy Hall, has a fun sketch for us.

This sketch had me stumped for a while, but as I was looking through my stamps for something that would fit on three small squares I came across a stamp set and coordinating punch that I hadn’t used before, Grateful Bunch and the Blossom Bunch Punch.  This set just didn’t appeal to me much when I saw it in the catalog, but once I stamped with it, I loved it and I thought that the flowers could be substituted for the squares in the sketch.  Yes — I’m probably stretching that last part a little, but I was truly inspired by the sketch.

3 Flower AwesomeI used a color scheme of Calypso Coral, Cucumber Crush, and Basic Black.  Because I love the pretty stitching on the leaves, I chose to keep the card really clean and simple, and let the flowers be the only other pops of color.

3 Flower Awesome Close upWe hope you’ll join us and play along this week!  Meanwhile, you can jump on over to the Freshly Made Sketches site to see what the rest of the team made for a big dose of inspiration.

Enjoy your Wednesday!  Thanks for stopping by!

A Bicycle for Two — Monday Montage #65

Monday Montage Banner -- October

Welcome to another Monday Montage blog hop!  We are a group of ten stampers who love to share what we create with you, and all you have to do to follow along is to click on the links at the bottom of each post.

Sale-a-Bration is winding down to a close soon so if you haven’t gotten all of the sets you want yet , you’d better do so quickly as there is less than two weeks left.  One of the sets I love is Pedal Pusher.  It has such cute accessories for the sweet bicycle.

Bicycle for TwoI stamped the bicycle onto some Whisper White Thick Cardstock and colored it with a blender pen and Real Red, Daffodil Delight, Smoky Slate, Soft Suede, Bermuda Bay, Old Olive, and Soft Sky inks.

I stamped the splatters from Timeless Textures with Basic Black ink, and then added part of a Tea Lace Paper Doilie and some Bermuda Bay 1-1/4″ Striped Grosgrain Ribbon onto the card base.

Bicycle for Two Close UpA Silver Basic Metal Button, Bermuda Bay Sequin Trim and some Black Baker’s Twine finish it off.  The coloring took a little time, but it was fun.  All in all a pretty quick  and easy card.

You’re ready to hop on over to Breelin Renwick’s blog.  I always love seeing what she makes!  If you prefer to work your way backwards, you can jump back to Wendy Weixler’s blog.  Either way, be sure to work your way through all of the blogs so you don’t miss a thing!

mondaymontageback (1)mondaymontagenext copy

Enjoy your Monday!  Thanks for stopping by!

Matchbook Treats — Stampin’ Up! Artisan Blog Hop

Welcome to another Stampin’ Up! Artisan Design Team Blog Hop!  There are 20 of us from around the globe who will be sharing our projects with you twice each month.  All you need to do to follow along is click on the link at the bottom of each post.

For this blog hop, we were asked to focus our projects on the Shine On Designer Series Paper.  I love this paper because it has the same thickness as card stock, and has cool silver foil designs on one side and bright, fun colored patterns on the other side.

My daughters’ school had a teacher appreciation day last month, and I like to make little treats to give to all of their teachers.  They have a lot of teachers between the two of them, so I wanted to make something cute but easy and quick.  I hadn’t made little matchbook treats in a long time, so I decided that would be perfect for what I needed.

Matchbook treatsI cut the Shine On dsp to a size of 2-1/2″ x 6″ for each treat, and scored at the 1/2″, 3-1/4″, and 3-1/2″ marks.  This was based on the size of the treats I wanted to include.  I put a small sized York Peppermint Patty in each matchbook, securing them with a staple, which also helps with the closure of the matchbook.  You can easily adjust the size of these matchbooks based on the size of your treats.

Matchbook treats close up inside On the outside cover, I cut some Silver Glimmer Paper stars with the Stars Framelits Dies.  I added a Cucumber Crush banner punched with the Banner punch, some Bermuda Bay Sequin Trim, and a Silver Basic Metal Button threaded with White Baker’s Twine.

The “You’re the Best” sentiment was stamped with Watermelon Wonder ink using a stamp from Sunburst Sayings.  All of this was placed on some loops of Silver Metallic Thread.

Matchbook treats close up outsideEven though this is just a little piece of candy, it’s fun to dress it up.  I think this shows the recipient they are special and loved.  At least that’s what was intended.  Teachers deserve lots of love!  And something sweet!

You’re ready to hop on over to The Netherlands and visit Chantal de Kaste’s blog by clicking on the link below.  You can use Google Translate for any blogs for which you need translation help.  It’s so fun to hop around the world!

Bloghop button_0915

Supplies Used:
Stamps:  Sunburst Sayings
Ink:  Watermelon Wonder
Paper:  Shine On Specialty Designer Series Paper, Cucumber Crush and Whisper White card stock, Silver Glimmer Paper
Accessories:  Stars Framelits Dies, Silver Metallic Thread, Silver Basic Metal Buttons, White Baker’s Twine, Banner Punch, Bermuda Bay Sequin Trim, Stapler

A Sunburst of Thanks — FMS228

It’s already time for another challenge over at Freshly Made Sketches.  And this week Kim Singdahlsen, who just made a major career change to an accountant and jumped into her first busy season head first, is our hostess.  I admire her so much!  Here is what she has for us this week:

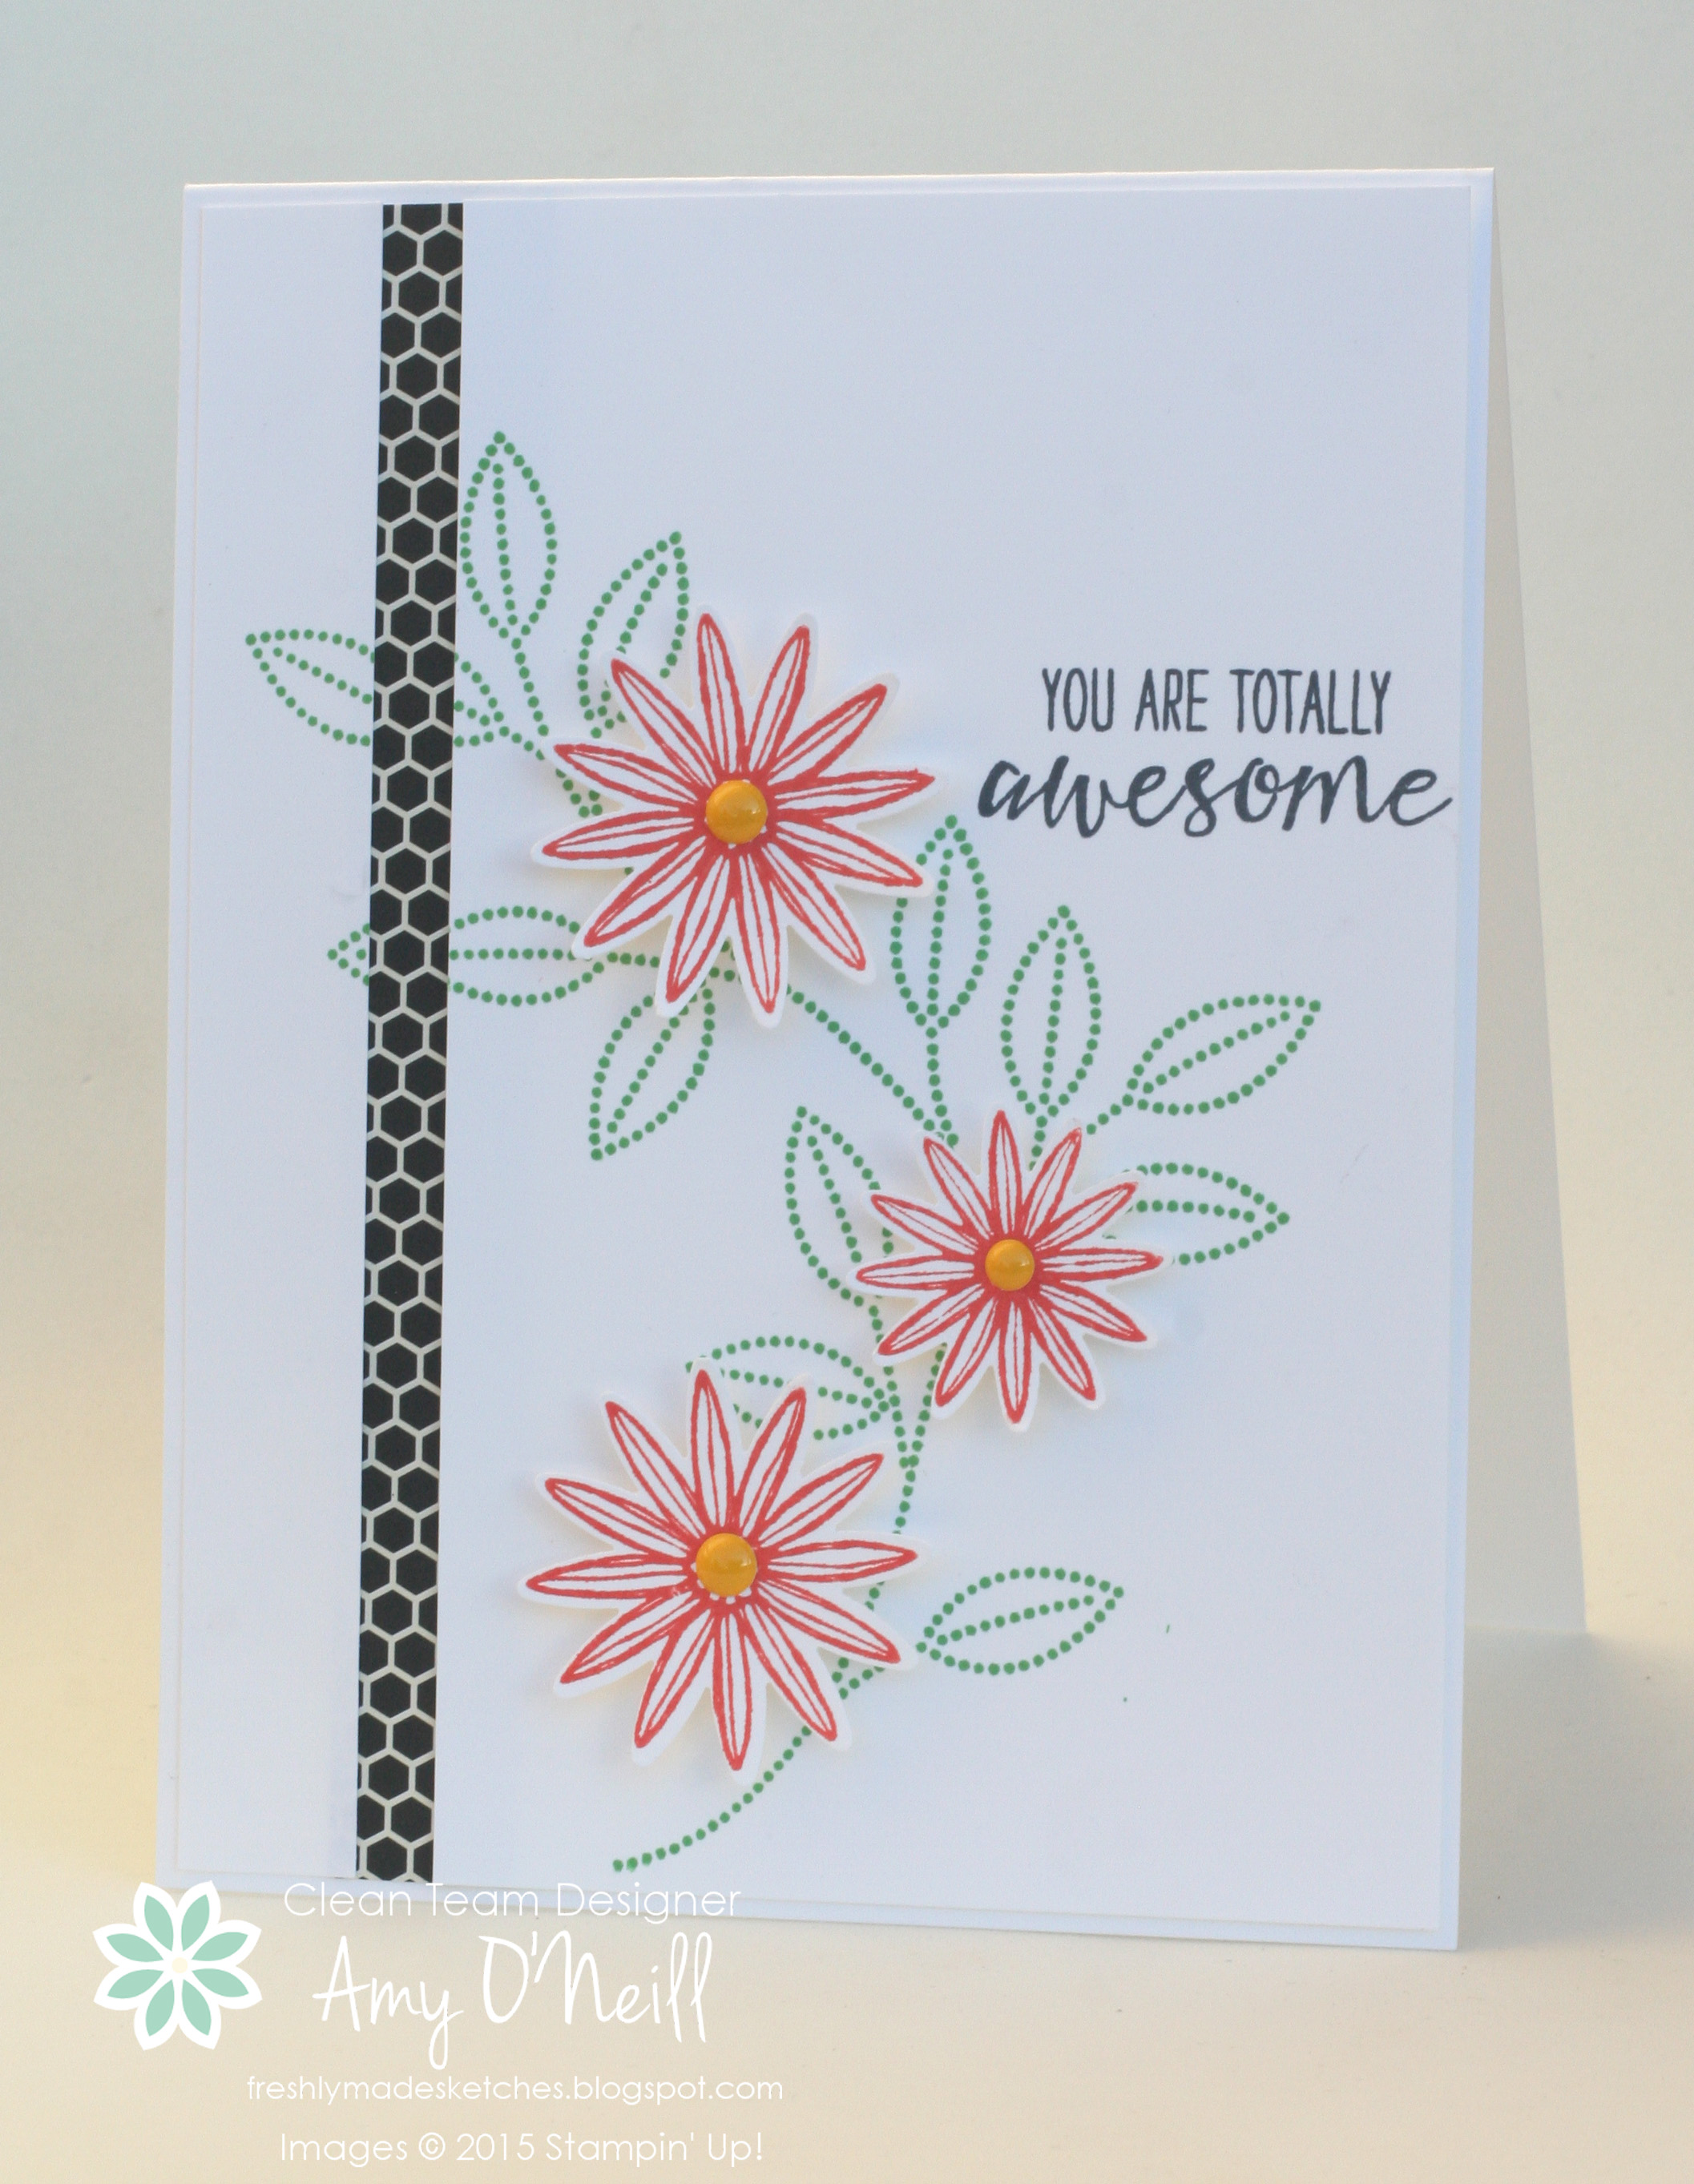
I have to say that this one stumped me for a while.  But that big circle kept calling sun to me, so I went in that direction because I love the Sunburst Thinlits die.

Kraft SunburstI punched a 2-1/2″ circle from the It’s My Party dsp stack, and layered a vellum circle (from the Circle Collection Framelits) underneath it just for a little bit of added interest.  The sun’s rays and sentiment were stamped with stamps from the Sunburst Sayings collection.

This was all mounted on a card base of Kraft Cardstock (love this stuff).  A little gold button and baker’s twine finish it off.  Super quick and easy card!

We hope you’ll join us and play along this week!  We love to see what you create.  For a dose of inspiration, jump on over to the Freshly Made Sketches site to see what the design team created.  You’ll be impressed!

Have a great Wednesday!  Thanks for stopping by!


Thank You Botanical Blooms — FMS227

It’s time for another sketch challenge over at Freshly Made Sketches, and this week the ever-clever and talented Linda Callahan is our hostess.  And look at what she has for us:

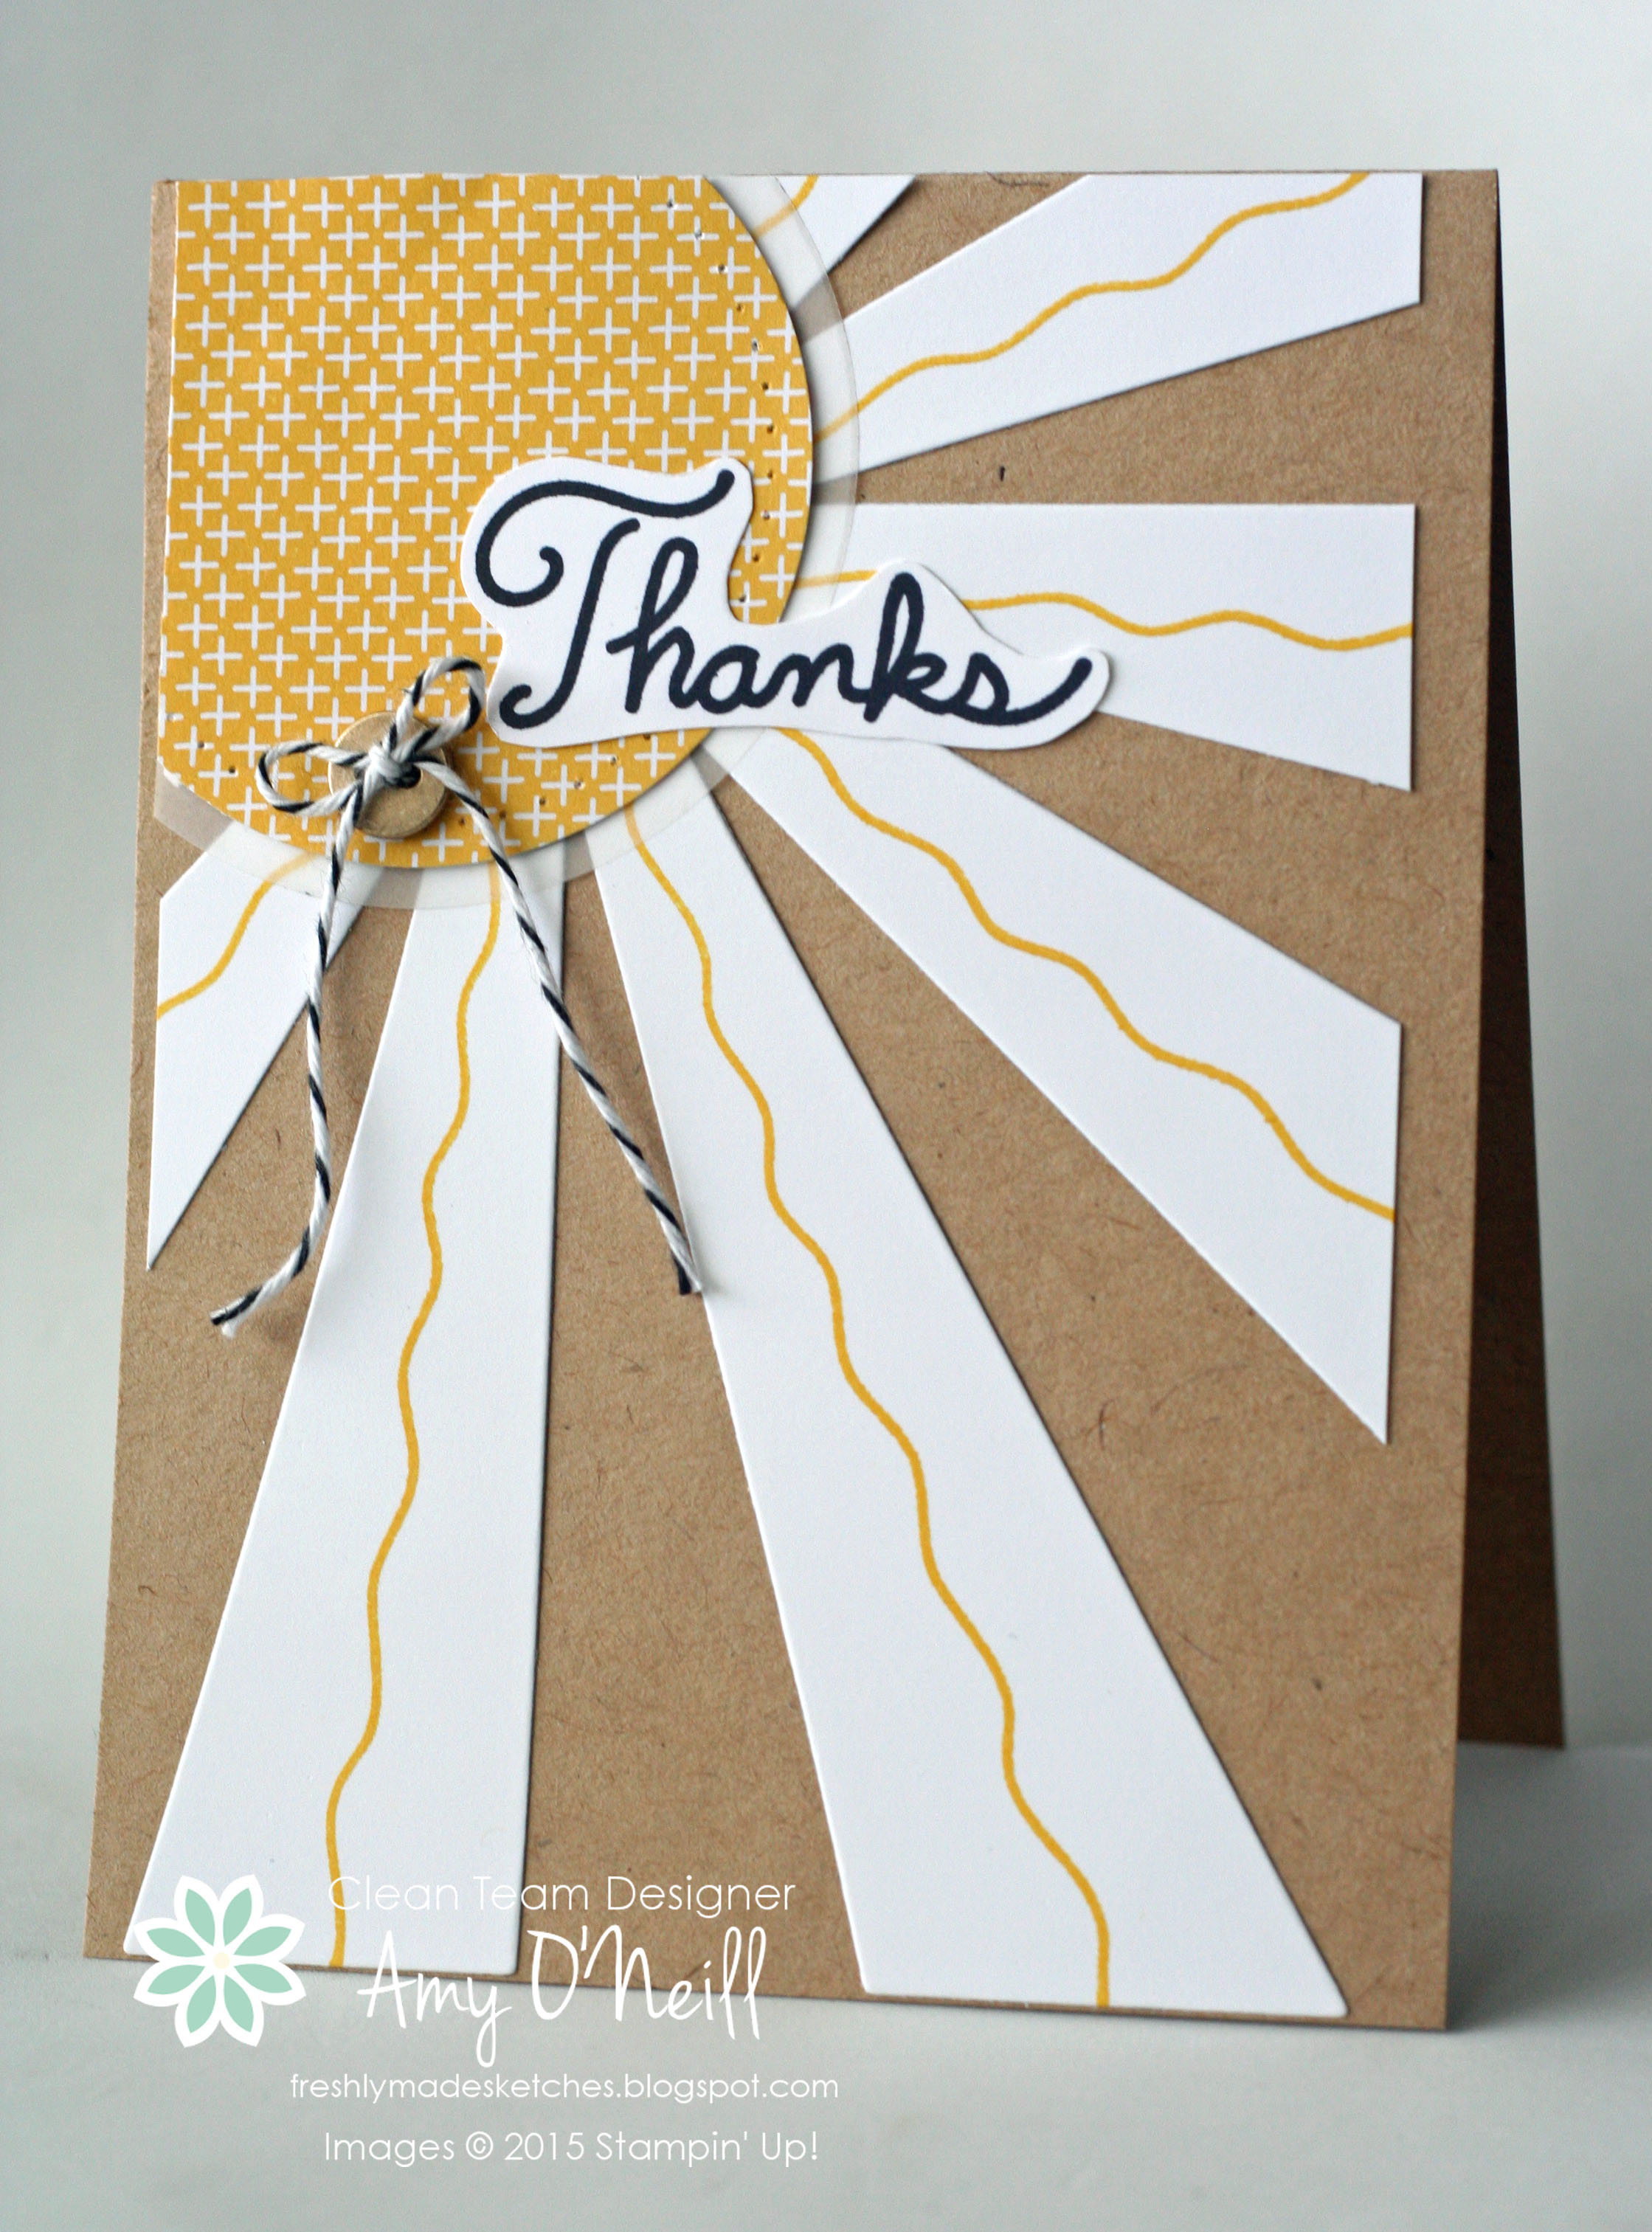
One set I haven’t used enough is the Botanical Blooms set.  This is such a well designed set.  I love the two-step stamping and the unique coordinating dies.  Since Linda’s sketch says that the two focal images can be any shape, I took advantage of that and made mine a flower and leaf.

Botanical Bloom Thank YouI used a color combination of Calypso Coral, which looks really red in my photo for some reason, and Old Olive and So Saffron.

I stamped the leaf directly on the card base and cut out a coordinating vellum leaf which I placed over it, slightly to the side.

The dsp on the side is from the Pretty Petals dsp stack, and the sentiment is from the Something to Say stamp set.

One of the dies that I love in the Botanical Builder Framelits Dies collection is the vine, which I used on the side.  It adds a fun, unique touch to the card.

Botanical Bloom Thank You Close UpWe hope you’ll join us and play along with the challenge.  It’s always fun for us to see what you post in the gallery.  For a big dose of creative inspiration, hop on over to the Freshly Made Sketches site and see what the design team made this week.

Enjoy your Wednesday!  Thanks for stopping by!

Vacation Memories — Stampin’ Up! Artisan Blog Hop

Welcome to another Stampin’ Up! Artisan Design Team Blog Hop!  There are 20 of us from around the globe who will be sharing our projects with you twice each month.  All you need to do to follow along is click on the link at the bottom of each post.

For this blog hop, we are focusing our projects on scrapbooking in honor of International Scrapbooking Day on March 4.  I’m really glad we were given this theme for this hop because we went on a family vacation last August and I had the best intentions of making a scrapbook of our memories, and here it is March and I hadn’t even started.  Project Life to the rescue!

We journeyed 2700 miles round-trip to Washington, D.C. in a car with three kids last summer.  I have two teenagers and a preteen, so they were able to entertain themselves during the ride, and the scenery was new to us, having never been to this part of the country.  We did most of the typical Washington, D.C. things while we were there, and we had a great time together as a family.  It was a fun trip!

I chose the Let’s Get Away Project Life Card Collection and Accessory Pack for my album.  It is perfect to document a road trip.  I chose to use the 6″ x 8″ pocket pages because they are small enough to be able to get pages done fairly quickly and since this album will just be for this one trip, it didn’t need to be very big.  I’m still working on some of the pages and since there are 20 of us in this hop, I’ll show you my cover page and a couple of my other layouts.

DC Cover PageThis is the first page in the album.  I love traditional scrapbooking, but I don’t do it very often because it is time-consuming for me.  So for this vacation album, I decided to make the cover page a traditional scrapbook page — no pockets.  The rest of the pages use the Project Life Photo Pocket Pages so that I can make quick pages and get this album finished before we take another vacation.  🙂

I started with a 6″ x 8″ piece of Whisper White card stock.  I cut out part of a map of Washington, D.C. that we used on our trip and laid that down as dsp.  And then I layered little mementos from our trip over the map — ticket stubs, Metro card, etc… and secured some with washi tape from the Let’s Get Away Accessory Pack.

I stamped some little grunge-y elements from the Timeless textures stamp set onto a couple of the corners for some added fun elements.

DC Cover Page Close UpI made the title for the scrapbook with a 3″ x 4″ Grid Card and the alphabet stickers from the accessory pack.  The cute car sticker came from the pack too.  The date and row of dots were stamped with Memento Black ink and Crushed Curry ink using stamps from the Project Life Day to Day stamp set.  I laid one of the acetate photo filter frames from the accessory pack over the card and attached it with staples.  I love the fun and subtle touches of color it adds to the card.

DC Capitol PageThis is a typical spread in the album.  I sorted our photos by the days of our trip.  On the first day we went to the Capitol and some of the other places on Capitol Hill.  You can get a closer view by clicking directly on the picture.

I attached a couple of the mementos from the day on one of the Let’s Get Away cards and stamped some more of the Timeless Textures stamps directly on the card.  I usually use my own handwriting to journal on the cards, but because I wanted to fit a description of all of our day’s activities onto this one card, I printed it on my computer printer instead.  It is on a grid card, stamped with a Timeless Textures stamp as well.  This stamp set is a perfect accessory for this Project Life kit.

DC Monuments PageMore of the same here.  Just slide the pictures into the pockets, add a journaling card and done!  This spread is of our first night in D.C. — a walking/bus tour of many of the famous monuments after dark.

So do you use Project Life?  Or do you prefer tradtional scrapbooking?  I really love that I can use a mixture of both in the same album.

You’re ready to hop on over to The Netherlands and visit Chantal de Kaste’s blog by clicking on the link below.  You can use Google Translate for any blogs for which you need translation help.  It’s so fun to hop around the world!


Bloghop button_0915

Supplies Used:
Stamps:  Day to Day, Timeless Textures
Project Life Supplies:  Variety Pack 6″ x 8″ Photo Pocket Pages, 3″ x 4″ Grid Cards, Let’s Get Away Card Collection, Let’s Get Away Accessory Pack
Ink:  Crushed Curry, Tangerine Tango, Bermuda Bay, Memento Black


Global Thanks — FMS226

We have another sketch ready for you over at Freshly Made Sketches, and this week our hostess is Rita Wright.  She is so talented and makes beautiful things that inspire me every time.  Here is what she has for us this week:

I love this sketch!  I needed to make a thank you card, and knew it would be perfect for what I wanted to make.

My daughters both go to an International Baccalaureate school, and there are many international students at this school.  The principal at the school takes the time to meet with each student’s parents to formulate and discuss a graduation plan for the students.  I am so impressed that she takes the time to do this personally.  So when I was thinking about making a thank you card after our meeting yesterday, I immediately thought of the Going Global set.

global thanksSince many of the coordinating products for this set are more on the masculine side and the card’s recipient is female, I went in a different direction.  I started with a piece of black and white dsp from the Have a Cuppa dsp stack.

I stamped (after stamping off once) the World Map background stamp with Soft Sky ink onto a piece of the Perfectly Artistic dsp.  This is a Sale-a-Bration offering that is a limited-time product.  It’s sales period was only through February 15, but it has been temporarily extended because there is still some limited inventory.  I can’t guarantee it will be available for long, so if you didn’t already get it, you’d better hurry.

The globe image from Going Global was stamped with Daffodil Delight ink on Whisper White card stock.  The sentiment is from the Greetings Thinlits Dies.

Global Thanks close upI added a few fun embellishments and tried to keep it pretty flat since it will be going through the mail.

We hope you’ll join us and make you own card using the sketch!  We love looking through the gallery and seeing your creativity.  Meanwhile, spend your time wisely and go see what the design team made at the Freshly Made Sketches site.  You’ll get a dose of inspiration!

Enjoy your Wednesday!  Thanks for stopping by!