Welcome to another Monday Montage blog hop! There are ten of us stampers who love to share what we create every other week. All you have to do to follow along is to click on the link at the bottom of each post.
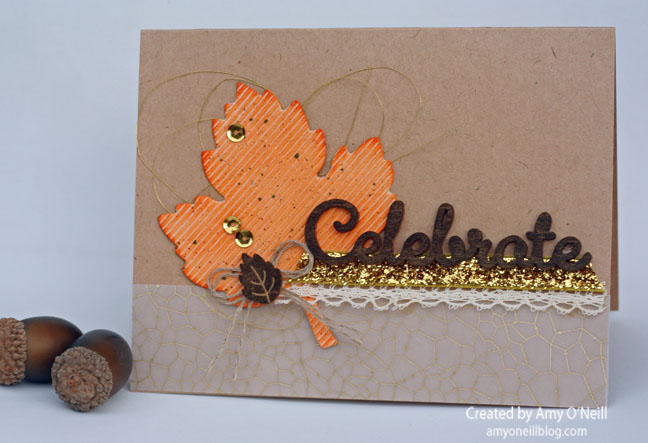
I have been admiring so many of the beautiful cards that feature a watercolor washed background out in blog land lately. It is such an easy technique and can work with so many stamps, so I decided to make another card using this technique.
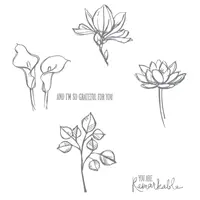
I started by pulling out my Remarkable You stamp set and some watercolor card stock. After brushing the watercolor paper with some water to get it a little wet, I dipped my wet paintbrush in some Crushed Curry, Tangerine Tango, and Old Olive inks and brushed them over the paper where I planned to place my stamped image. After the card stock had completely dried, I embossed the stamped image with white embossing powder.
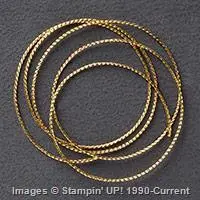
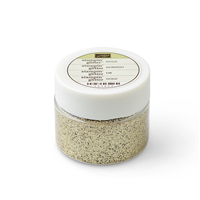
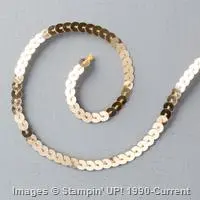
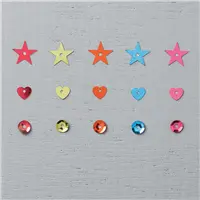
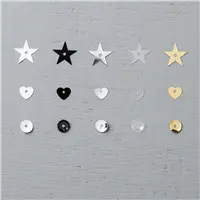
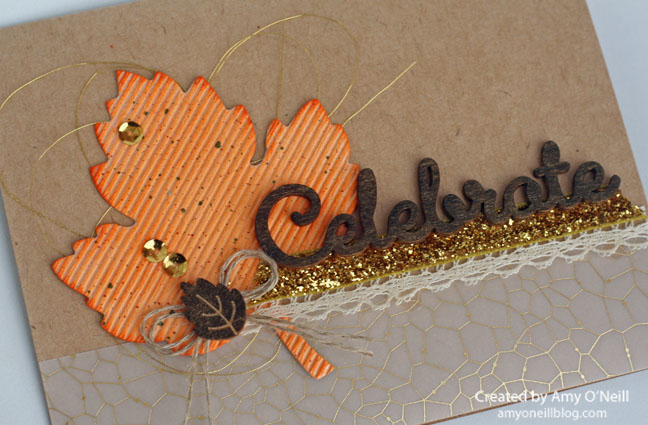
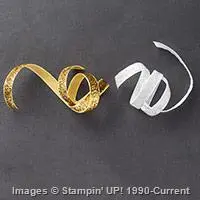
 I then added some black ink splatters and using my fine tip glue pen, added some tiny dots of Gold Stampin’ Glitter. I also added some gold sequins from the Gold Sequin Trim and some Pumpkin Pie and Old Olive sequins from the Brights Sequin Assortment.
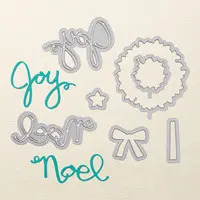
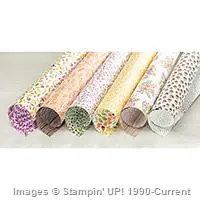
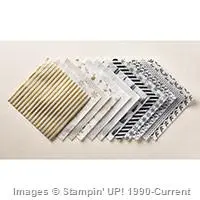
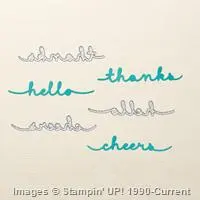
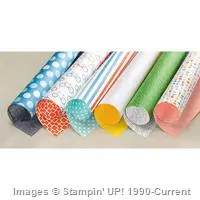
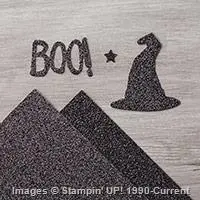
I’ve also been hooked on using touches of black on my cards, so I added the sentiment from the Greetings Thinlits Dies and some peeks of the black striped Winter Wonderland Designer Vellum.
 I made this card for a display board sample at the Dallas On Stage Stampin’ Up! event yesterday, which was so much fun. They gave us copies of the upcoming (releases in January) Occasions Catalog and the Sale-a-Bration brochure, and I am so excited! There are so many fabulous products in them. I know I need to focus on finishing up Thanksgiving and Christmas stamping first, but my mind is already thinking about how I want to use some of these new products.
Another fun thing about the On Stage event yesterday — they announced the new Artisan Design team, and I’m pretty sure my name was on the list. I say “pretty sure” because to tell you the truth, I’m still pinching myself in disbelief, and the whole experience of the announcement yesterday is pretty much a blur. I was given a beautiful box (with a couple of cool gifts in it) but unfortunately, I can’t show it quite yet because it has some new product on it from the upcoming Occasions catalog and we’ve been asked (told) not to show any sneak peeks.
I am really looking forward to this next year, and I’m so grateful for this Monday Montage team. We have all entered this contest in the past, and some of my teammates are past winners and some will be future winners. They are so supportive and inspire me all of the time to try new things and grow. I love them!
You’re ready to hop on over to the incredible Breelin Renwick’s blog for a huge dose of creativity. If you prefer to work your way backwards, you can hop over to Wendy Weixler’s blog to see her amazing work. Either way, be sure to work your way through all ten blogs.


Enjoy your Monday! Thanks for stopping by!

 I just love this happy little snowman from the Snow Place stamp set. And he is so fun to decorate. I decided to dress him up a bit with a hat and tie.
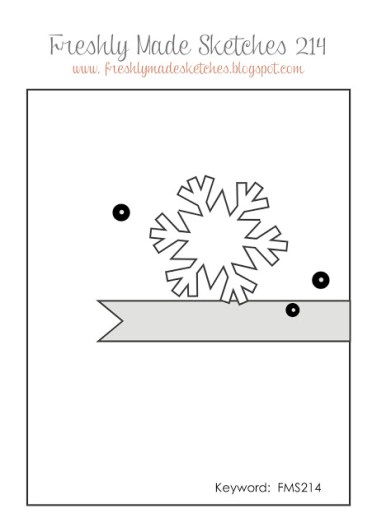
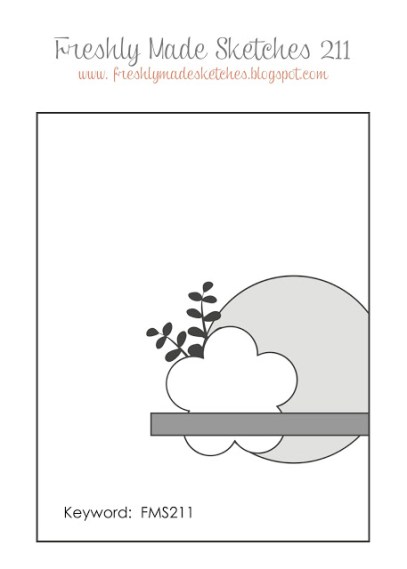
 We hope you’ll play along and make your own card using the sketch! You can jump over to the Freshly Made Sketches site for a dose of creative inspiration to get you started.
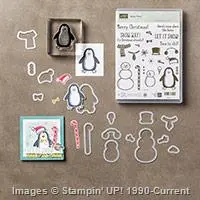


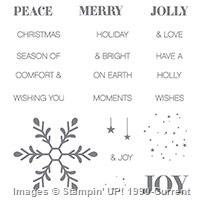
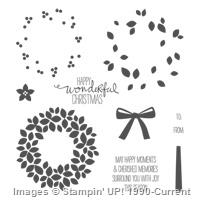
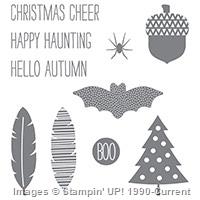
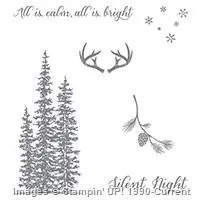
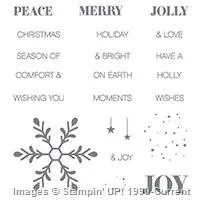
 I have a set, Wonderland, that I fell in love with from the Holiday catalog that I hadn’t inked up yet, so I decided it was high time to use it. I inked up the stamp with the beautiful trees with Old Olive ink and stamped off once before stamping on my card stock. I did this a couple of times and then repeated this with Mossy Meadow ink.
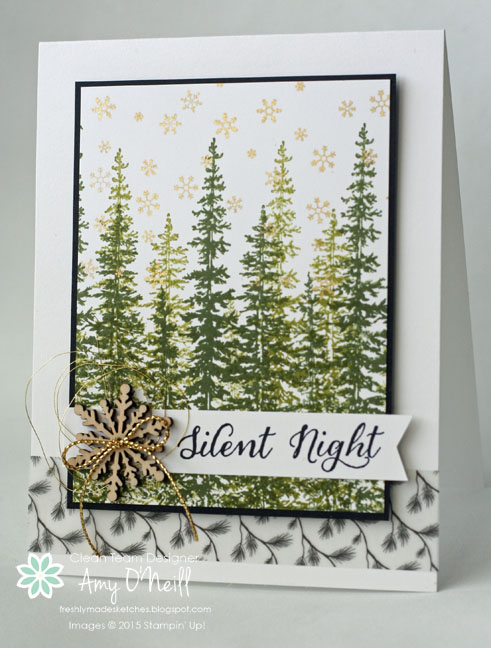


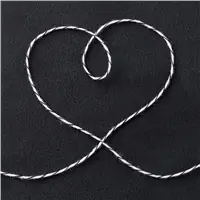


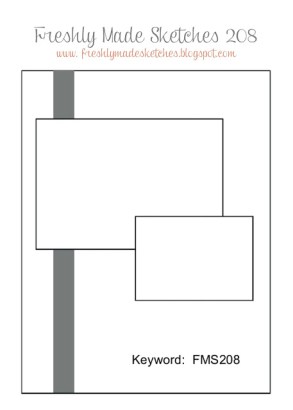
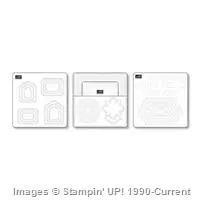
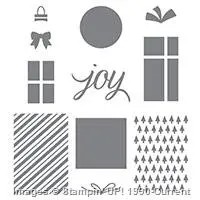
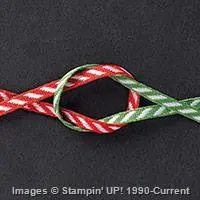
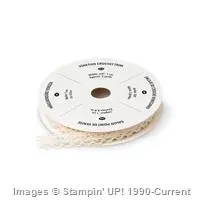
 When I saw this sketch, I immediately thought of the squares as presents. So I pulled out the Your Presents set. I stamped and cut out the presents and then added some ribbon and baker’s twine for embellishments.


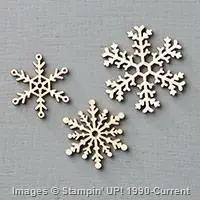
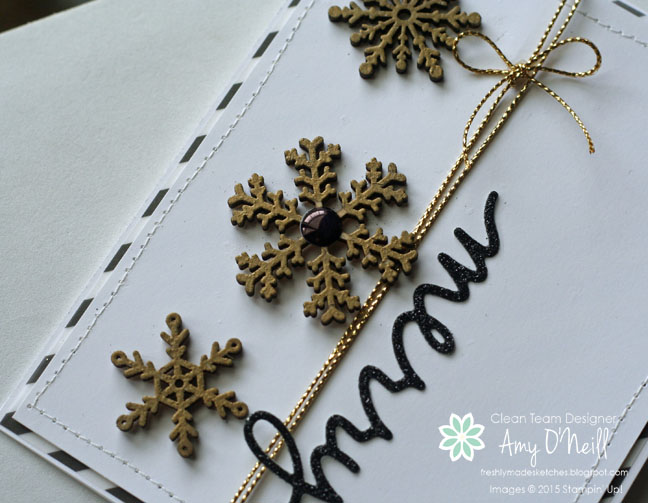
 I pulled out my wooden snowflake elements and inked them up with Versamark ink and covered them with Gold Stampin’ Emboss Powder. I used them as the three square elements in the sketch. I think these snowflakes are so pretty that I wanted them to be the stars of the show.
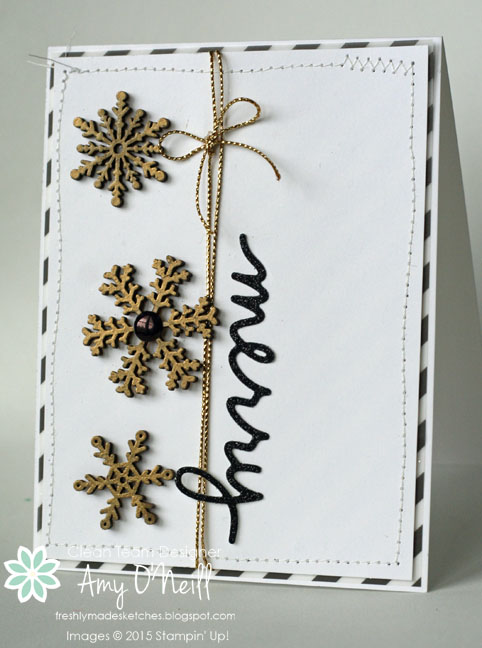

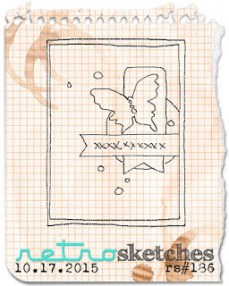
 Isn’t this a great clean and simple sketch? I love it, so why did it take me so long to make a card with it? I mean I really struggled with this sketch. I felt like everything I was making was too boring and plain. So I ended up fiddling with this card all morning yesterday — adding a little here and there, trying different colors, etc… I have decided that I love other people’s CAS cards, but not so much my own. I can do clean, but the simple part is hard for me. Well enough about my card’s origins — here it is.