I had mentioned a few weeks ago that we were in the process of reorganizing our home office/craft room/study space. I have to say that this is the most used room in our house. It seems that you can always find at least one person in this room at almost all times of the day. And there are many times when you can find three or four of us in here at the same time.
We’re blessed to have a good sized room for this — it’s 14′ x 11′ and has a high ceiling (11′). The room also gets great light as there are two huge windows along one wall. When we moved into this home thirteen years ago we bought some really nice cherry office furniture and bookcases for the room. It was quite functional for us. Over time, I took over one wall in the room, and we installed some Elfa shelves (from the Container Store) for my crafting supplies and work space. So I’ve had this part of the space for about five years.
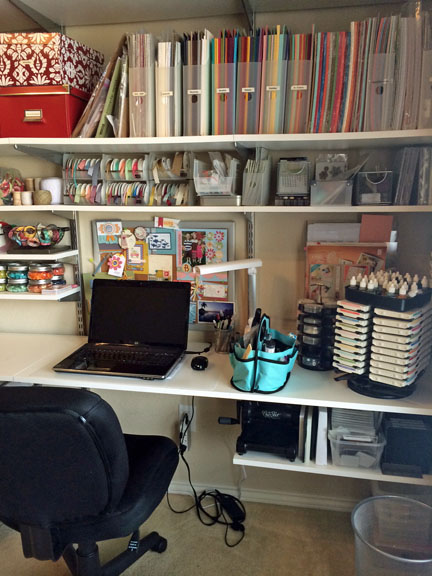
 I have my punches on Ikea bars on the left side of my work space. I love how easy it is to find the one I need this way. All of my card stock is kept in Cropper Hopper containers on a shelf within easy reach. I have them organized by color families. I use the red Ikea boxes for different things — one for envelopes, one for heat embossing supplies, one for misc. supplies (Snail refills, extra scissors for classes, extra boxes of glue dots, etc..). When I need to heat emboss something, I just pull the embossing box down from the shelf and everything I need is in the box — powders, heat tool, embossing buddy, etc… All of the boxes are labeled so it’s easy to find what I need.
The shelf above the bulletin board is where I have all of my ribbon, containers of candy dots, rhinestones, sponge daubers, etc.. On the shelf below that on the left, I keep bins for adhesives (glue dots, Tombo mono multi glue, sticky strip, dimensionals, etc.) This is within easy reach. I also have containers for glitter, spritzers, and a little wire basket for all of my washi tape. I love looking at that! The shelf below that has jars of buttons that I’ve collected over the years organized by colors. I also have my Color Coach there within easy reach.

On the right side of my workspace I keep all of my inks, embellishments, markers, acrylic blocks, and a little carryall for scissors, paper piercing tools, and tools I use frequently.
On the shelf under the desk on the right side, I keep my Big Shot and dies. I don’t even have to get up to pull it out and use it.

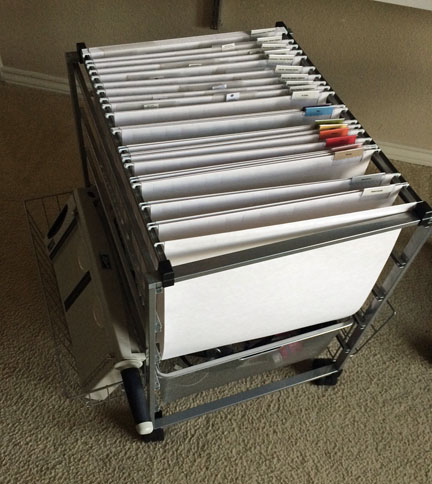
One of the things I added when we recently reorganized was this cool filing cart. It has file folders made for 12″ x 12″ paper. It goes under the left side of the desk, but pulls out easily since it’s on wheels. This is where I keep my scraps of card stock, which are organized by color (all reds together, yellows together, etc…). I also have separate folders for each of the dsp collections behind that. In the basket on the left side, I keep my paper cutter. In the basket on the right side I keep my Simply Scored tool and my Stampin’ Trimmer.
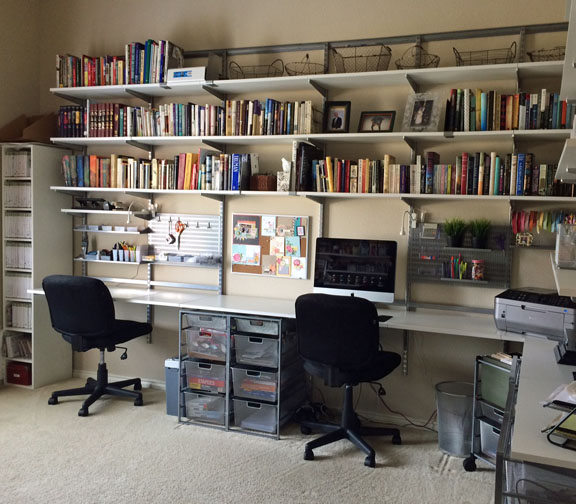
We sold our old office furniture, and put up this great work space for the kids (and my husband when he brings work home on some evenings). This is the big project we recently completed.

There are two work areas here. One has the desktop computer and a work space between it and the printer, and the the other has space for a laptop and textbooks, etc… One of the things that I love about this is that the desk runs along the entire wall (except for the little shelving unit where I keep my stamps (were you wondering where those were? :)) The drawer units hold office supplies.
This is where my kids like to hang out. We have a rule in our house that laptops and ipads can’t be taken to the kids’ bedrooms. They have to use them downstairs. It’s not that we don’t trust our children, but rather that we’re afraid we’d never see them if we let them take them to their rooms. 🙂 So there’s usually one kid on a laptop here and one on the desktop or doing homework. If I’m crafting in the room, I usually have company while the kids are home, which makes me happy. There’s definitely more conversation time that way.

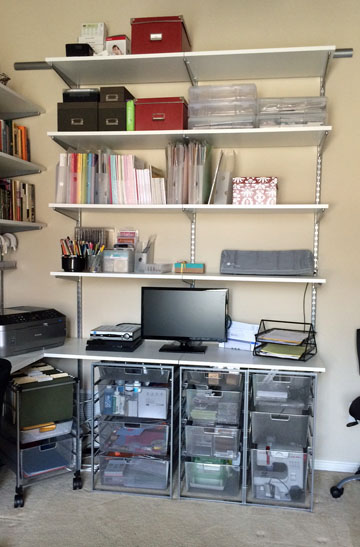
The work space I just described makes an “L” with this craft storage area. The desk space meets together, while the shelves above do not. This area has lots of drawer storage for the girls’ crafts (they each have their own drawer) plus more of mine. I also have a drawer for my sewing machine, one for my xyron machine, one for less used stamping items, and other misc. stuff. The tv and my son’s PS4 is also on this desk. He comes in here and pulls up the chair to the right in the picture to play games occasionally. I also have a smaller filing cart I tuck in the corner here for the household financial matters.
So there’s the tour. It’s not the most beautiful craft room, but it’s very functional for our family at this stage of our lives. I do dream of having my own craft room some day, but I must say that I do enjoy getting to spend more time with my kids this way. And I love how everything has a place now — though it’s definitely not usually as neat as the pictures show. 🙂
Enjoy your Tuesday! Thanks for stopping by!

 I pulled out Field Flowers and stamped the flowers with Crushed Curry ink and I used Pumpkin Pie ink for the flower center stamp. I added some Dazzling Diamonds glitter to the centers as well. I love the gingham paper from Gingham Garden dsp, so I need to use it up before the new catalog comes out. You know, that’s only two months away.
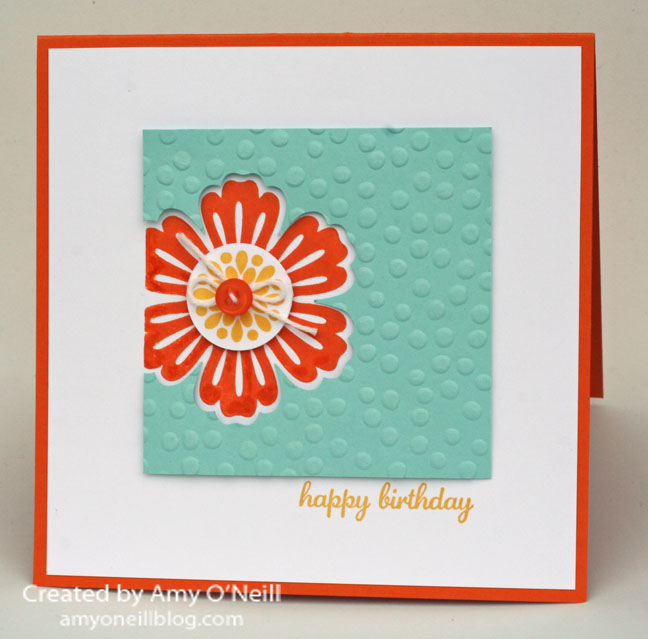
 Head on over to Freshly Made Sketches and see what the rest of the design team has to share this week. And then we hope you’ll make your own card and link it up in the gallery. We love seeing your work!