Cheerful Colors with Sympathy — Monday Montage #62

Monday Montage Banner -- OctoberWelcome to another Monday Montage blog hop!  We are a group of ten stampers who love to share what we create with you, and all you have to do to follow along is to click on the links at the bottom of each post.

My daughter needed a sympathy card for a favorite teacher who suffered a terrible loss recently.   Sympathy cards are so hard to make, and tears were running down my face as I made this one.  But we wanted her to know that she is loved and we are praying for her.

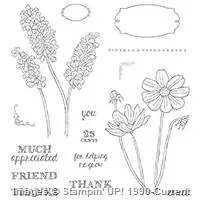
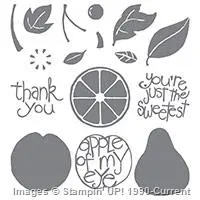
I hadn’t used my Helping Me Grow stamp set yet, so I pulled it off the shelf, and used some pretty, cheerful colors with it.

Helping Me Grow with Sympathy
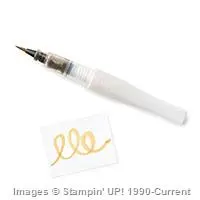
I watercolored the image with my aquapainter on watercolor paper.  I used So Saffron, Pumpkin Pie, Old Olive, and Soft Sky inks.

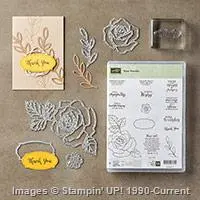
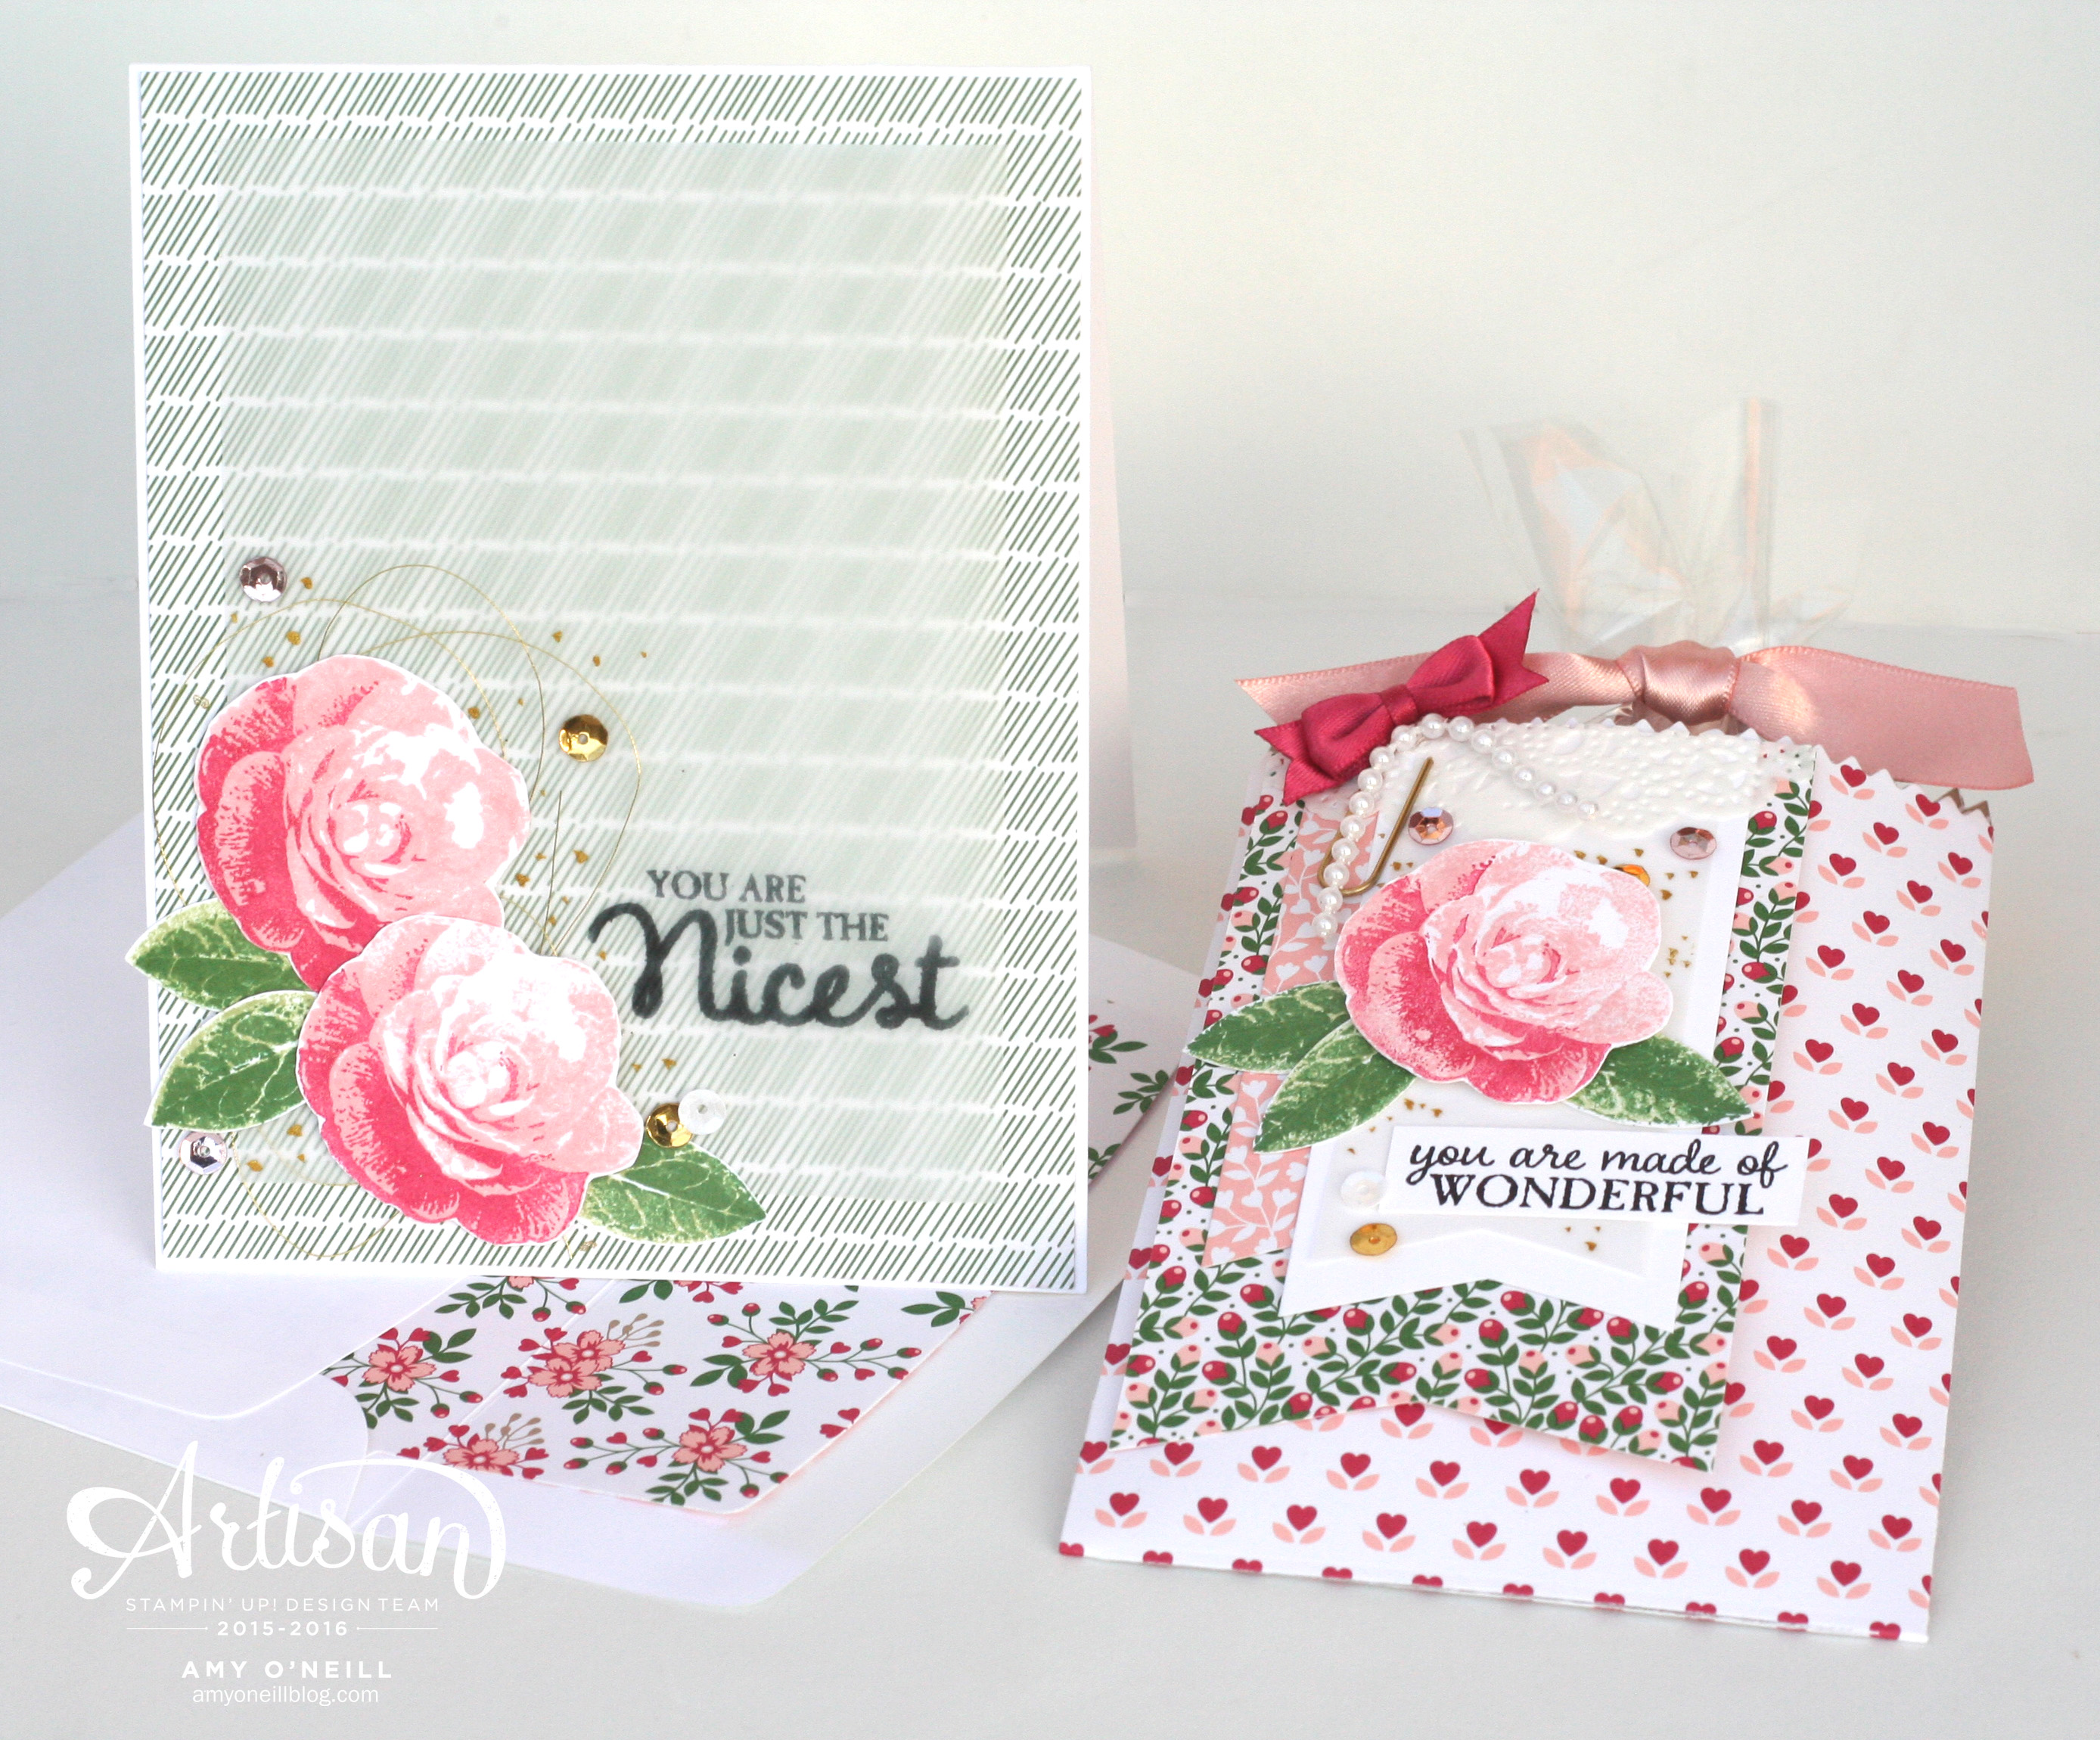
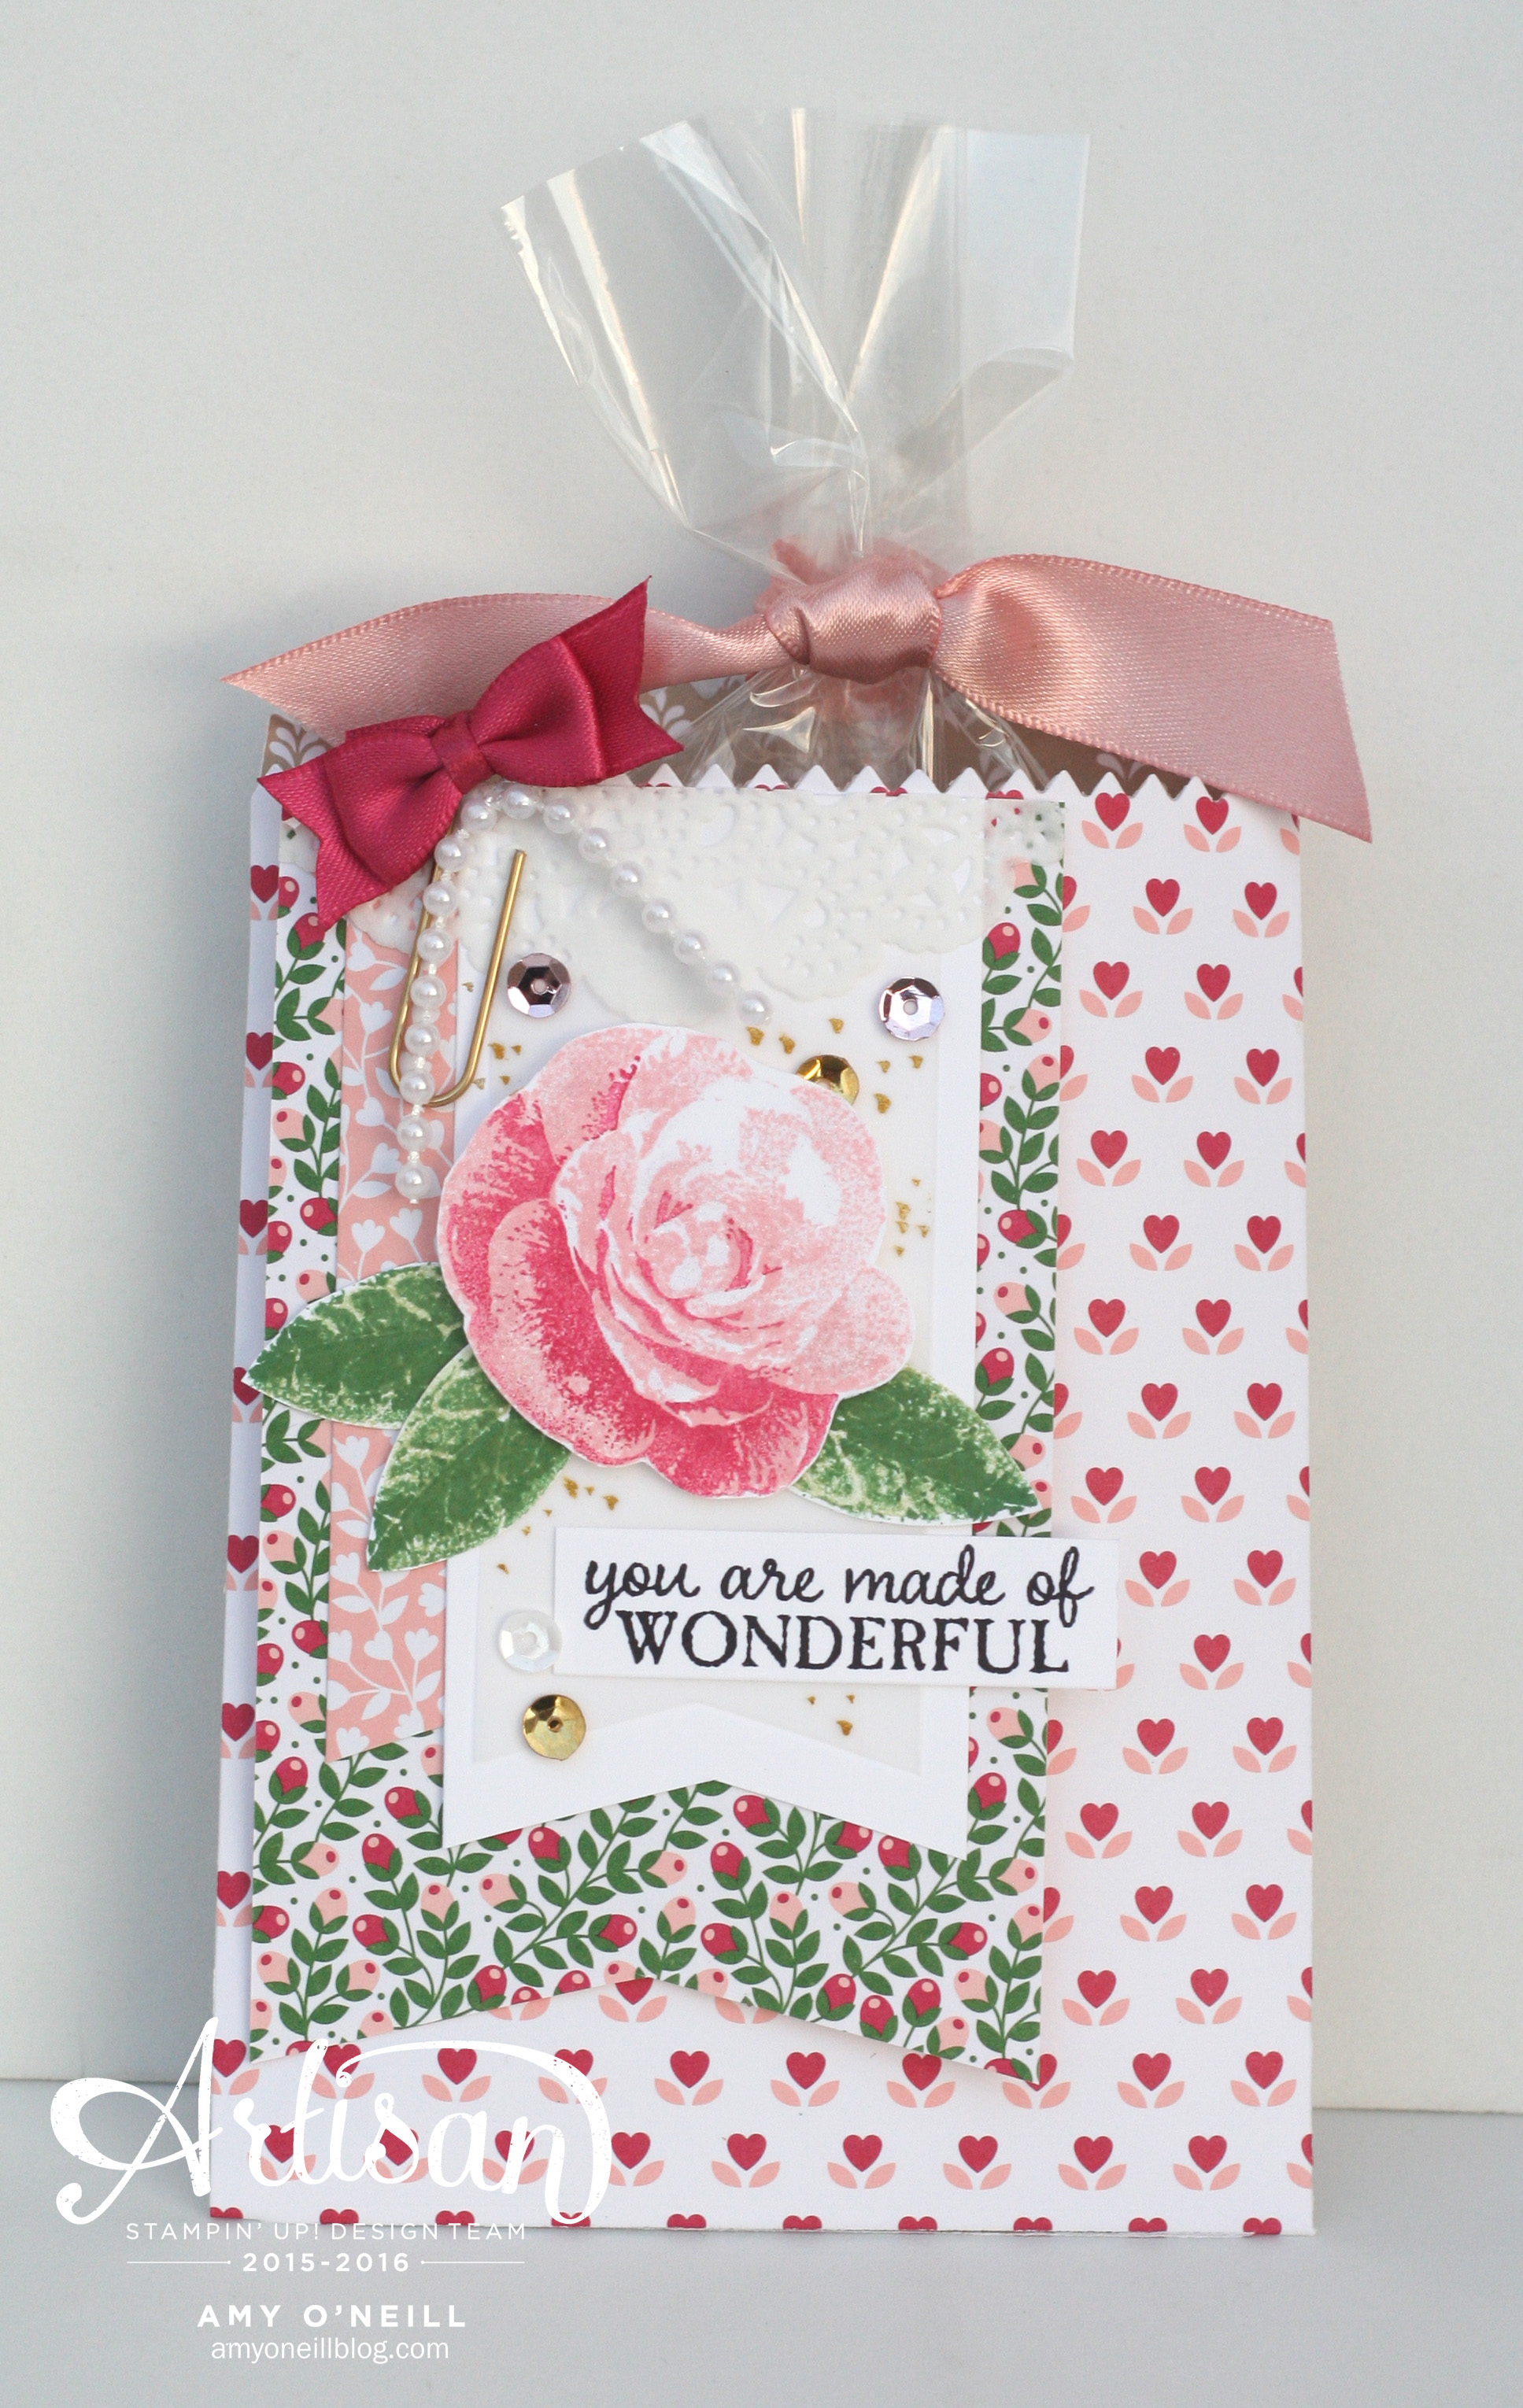
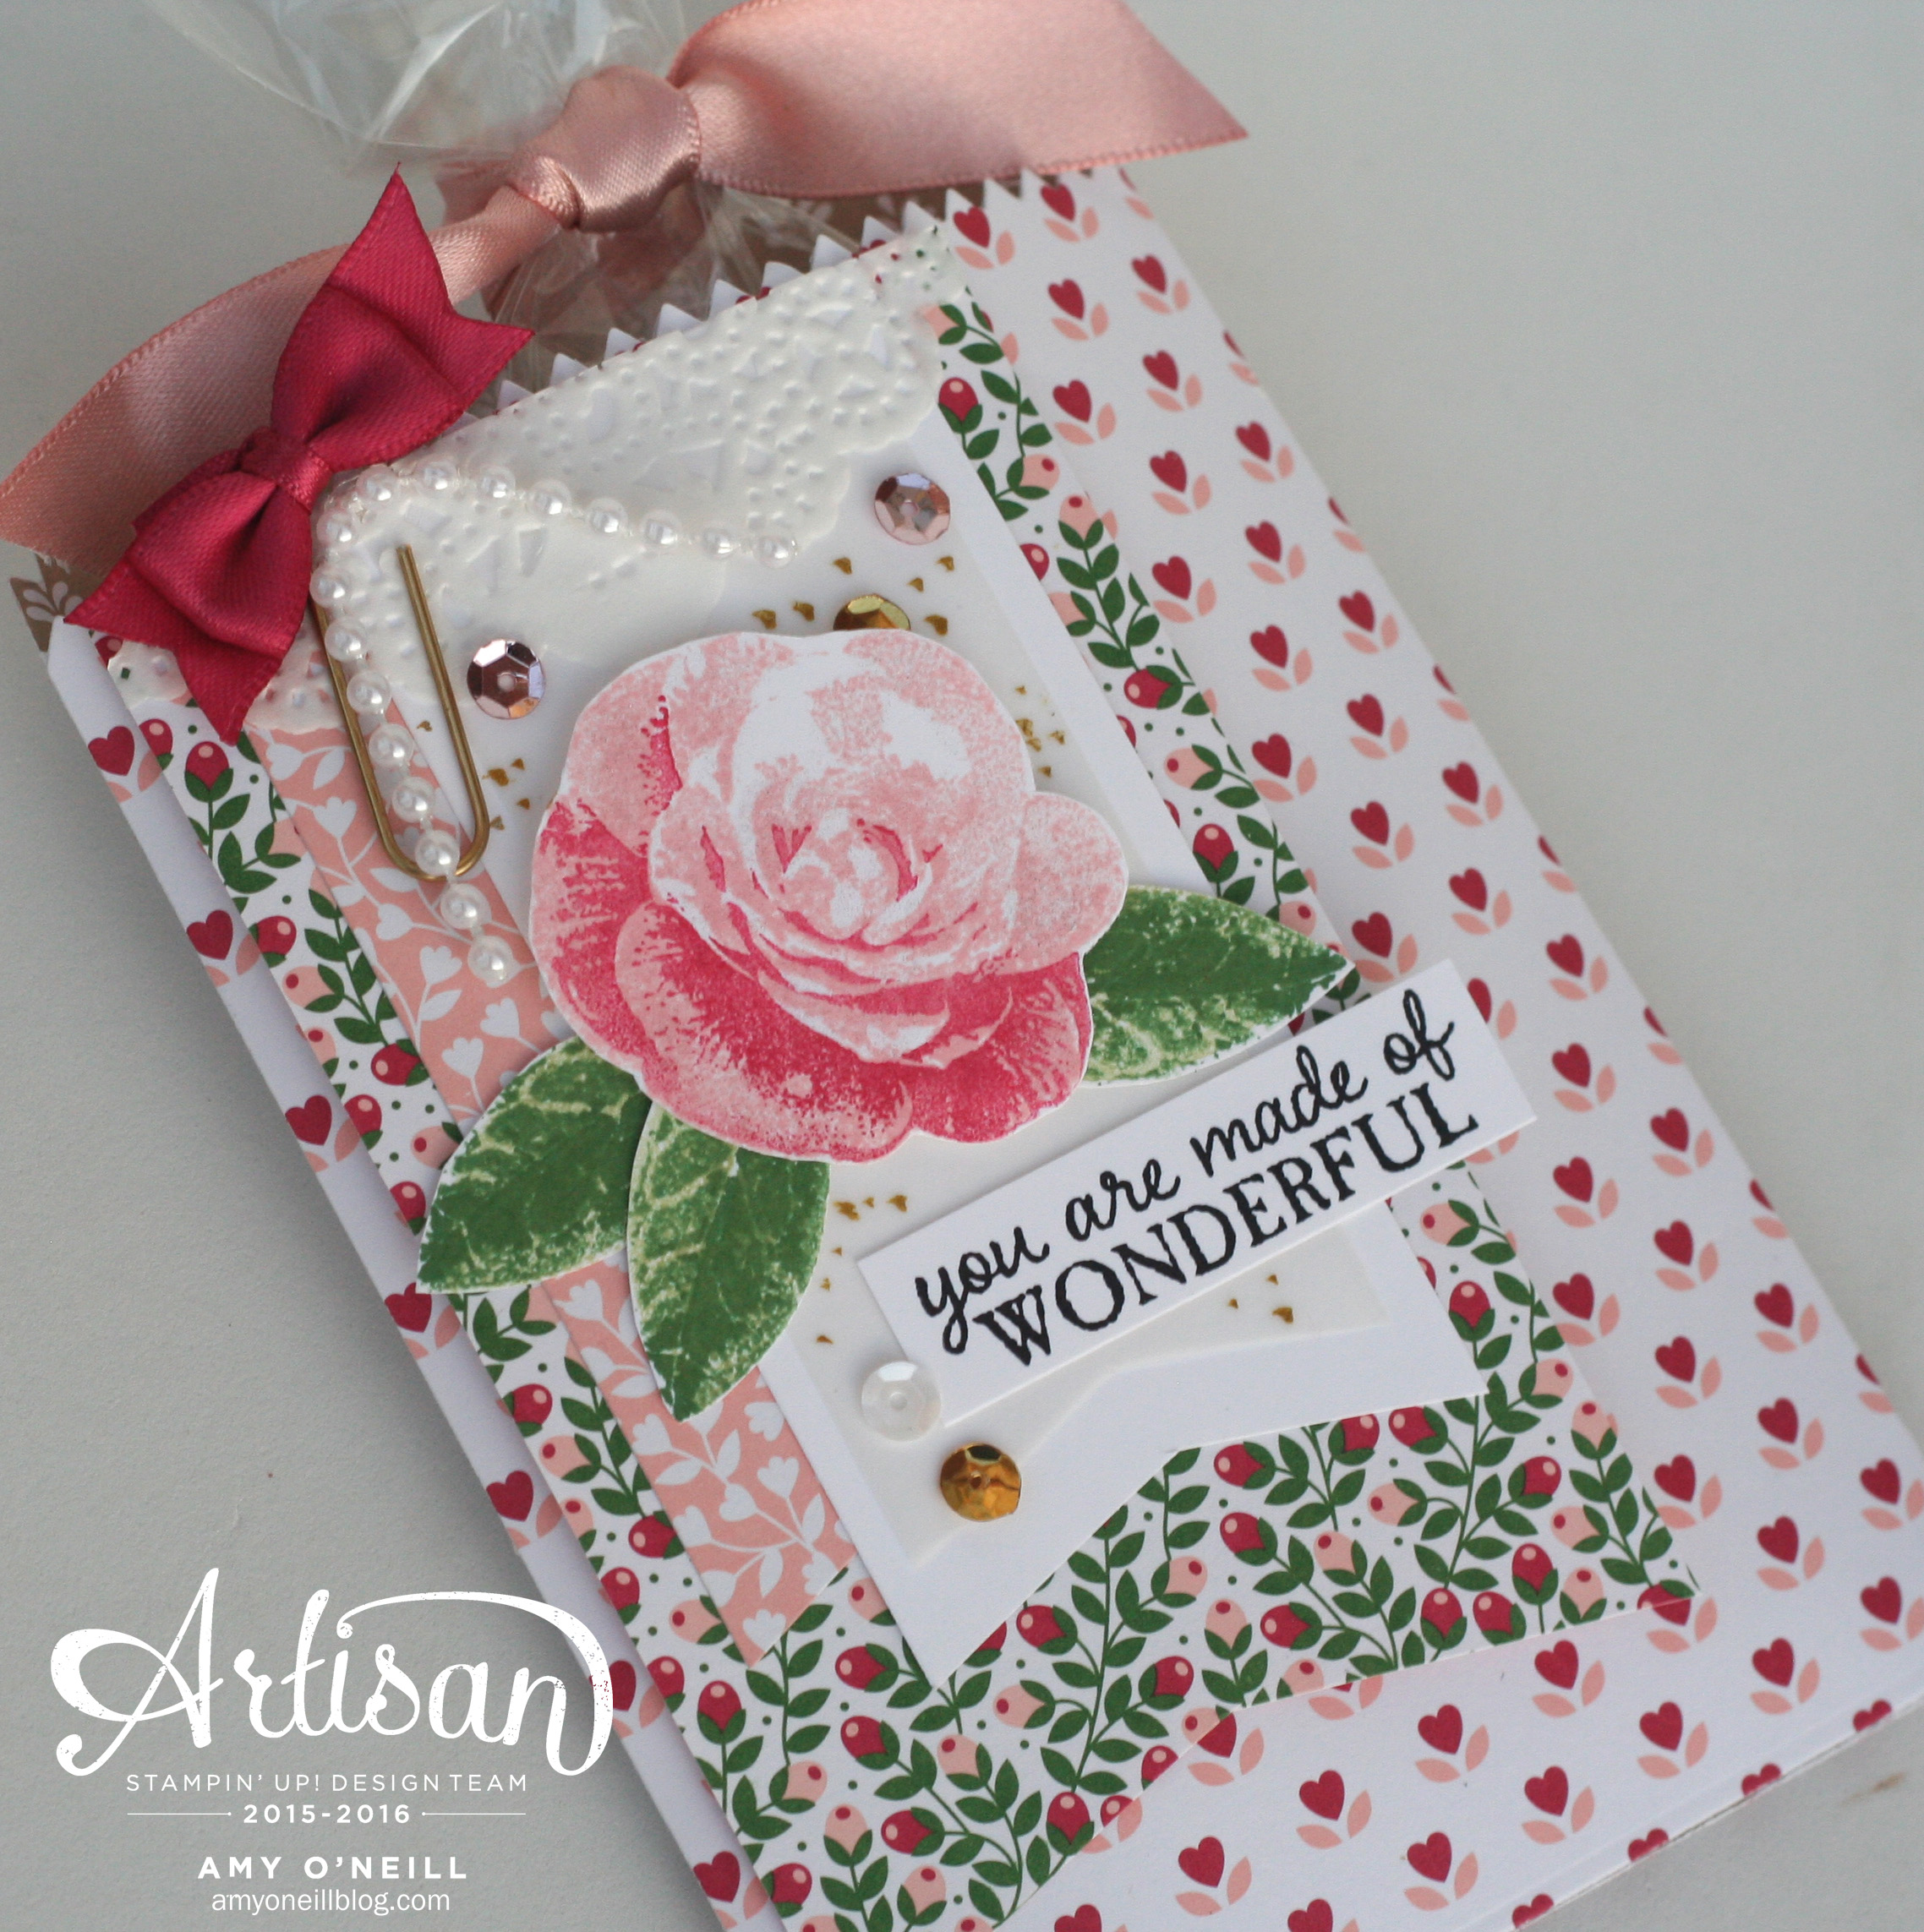
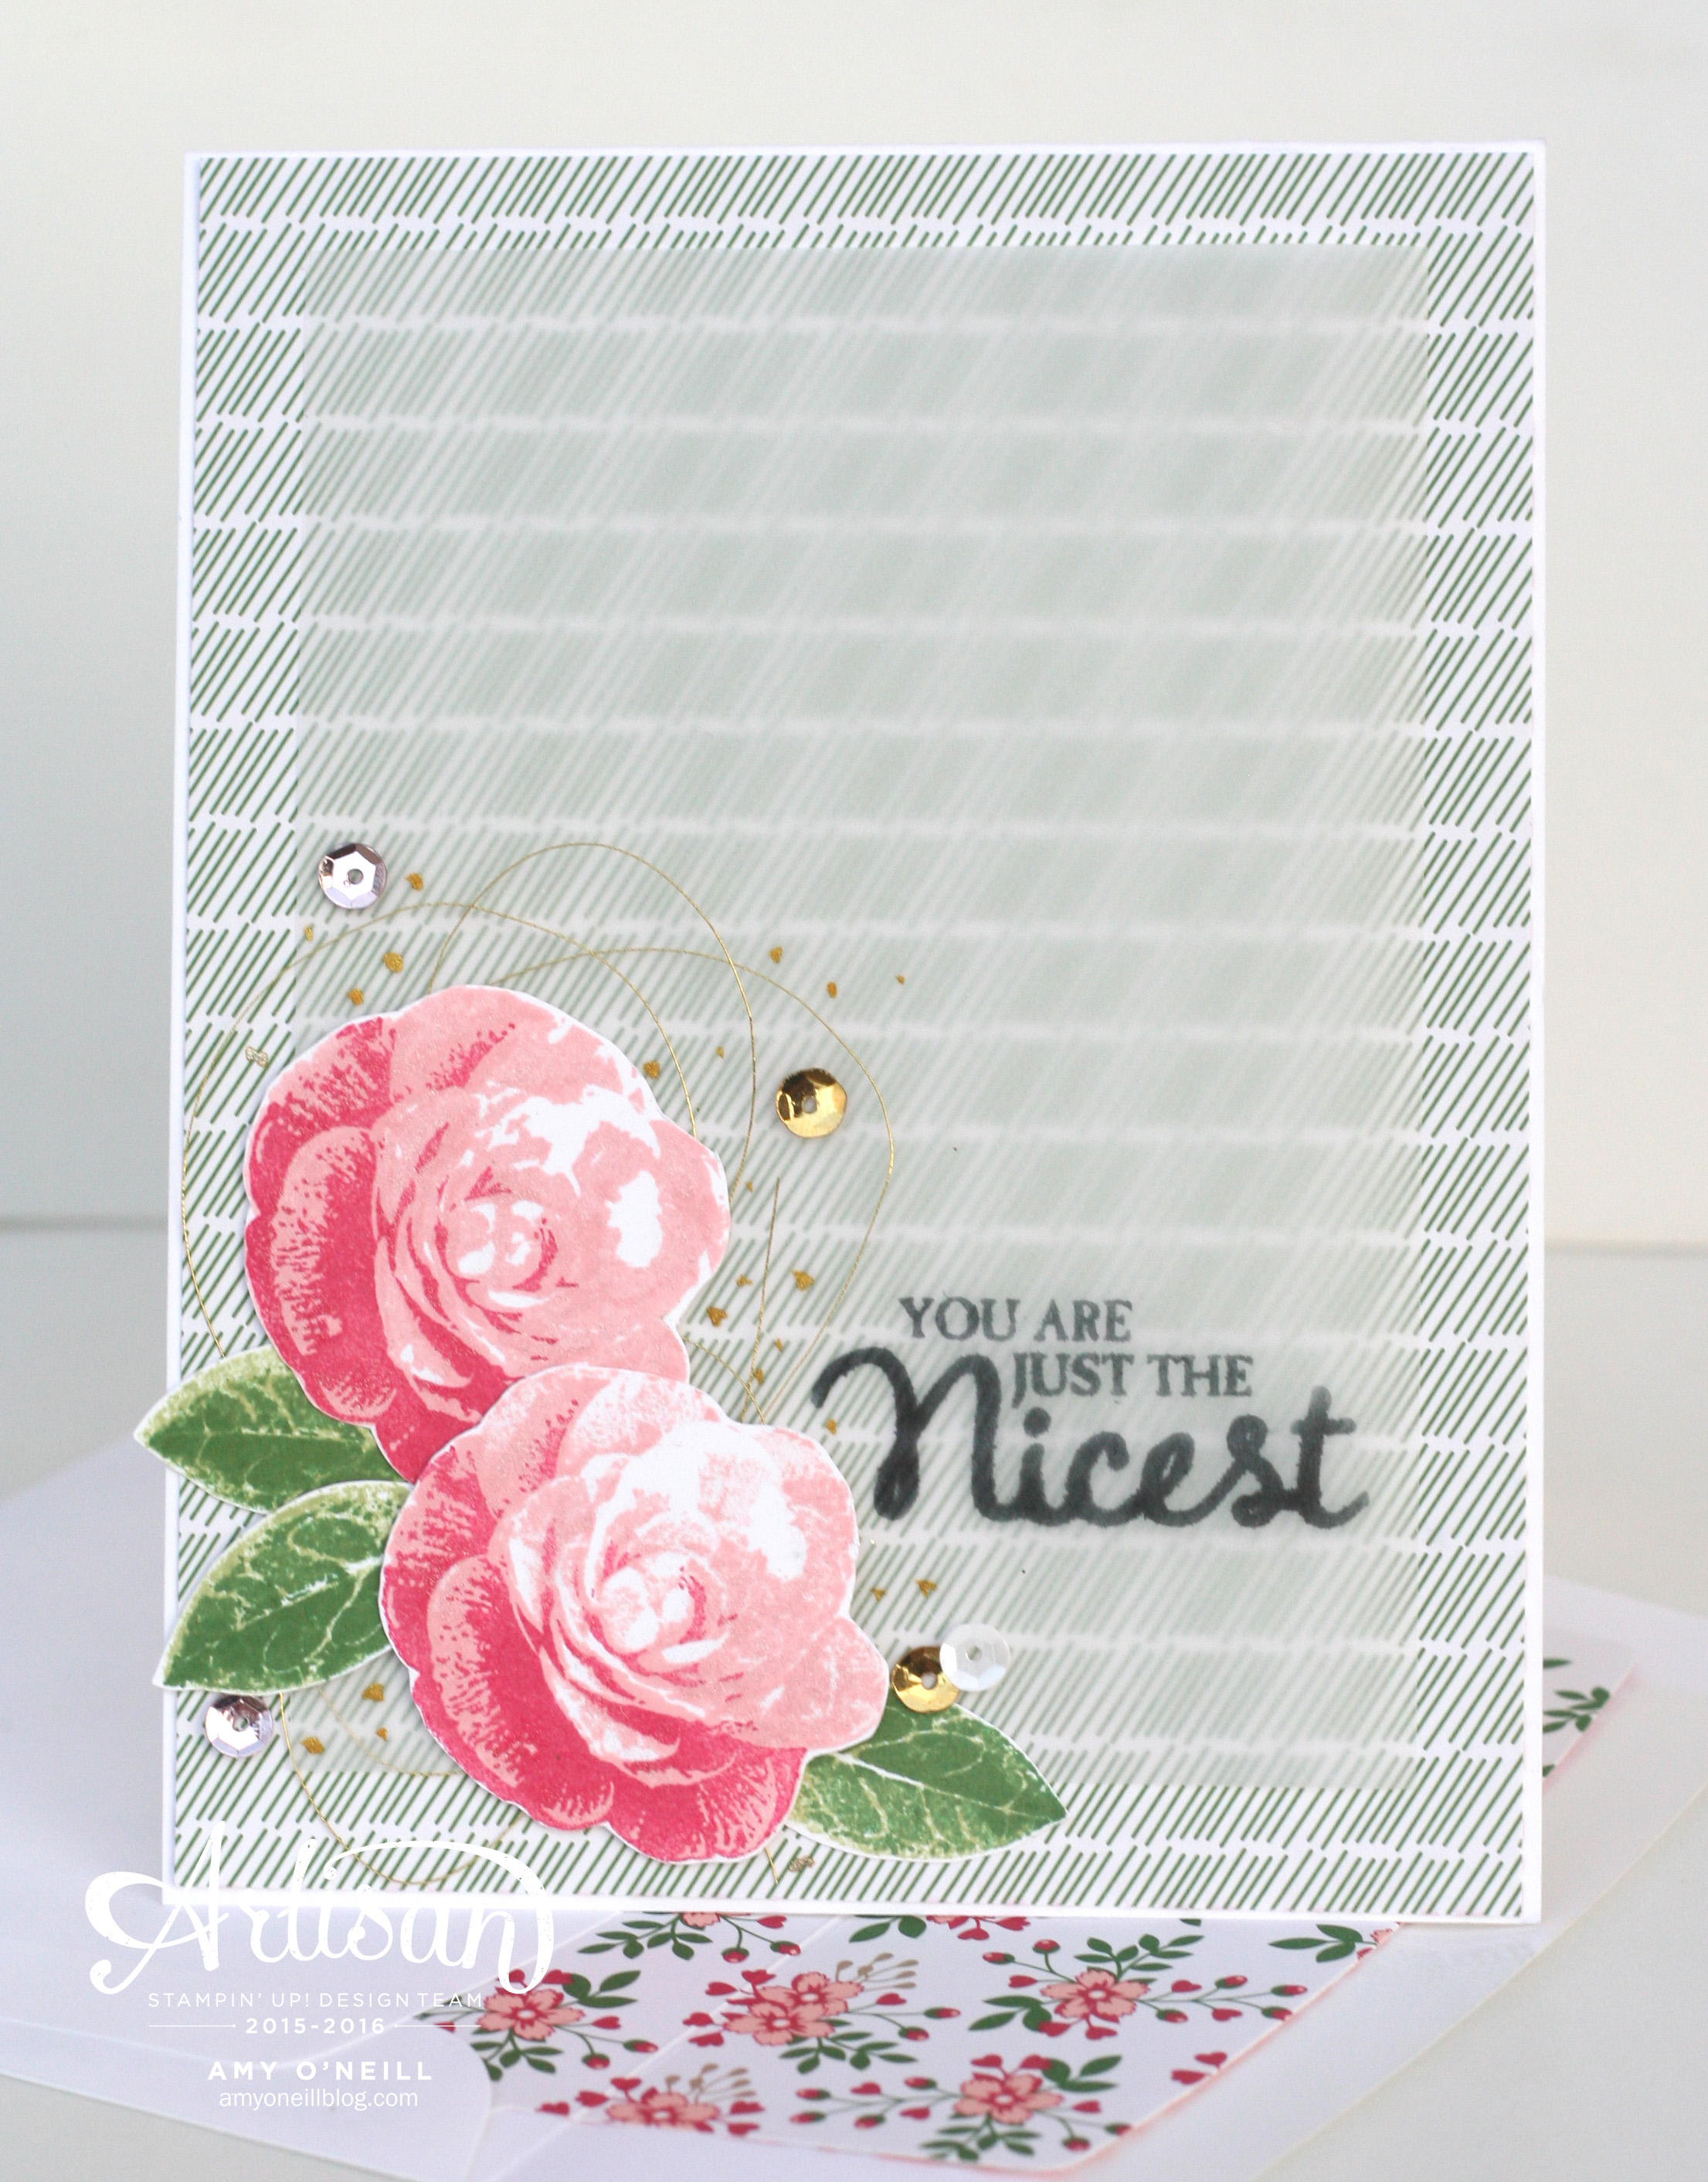
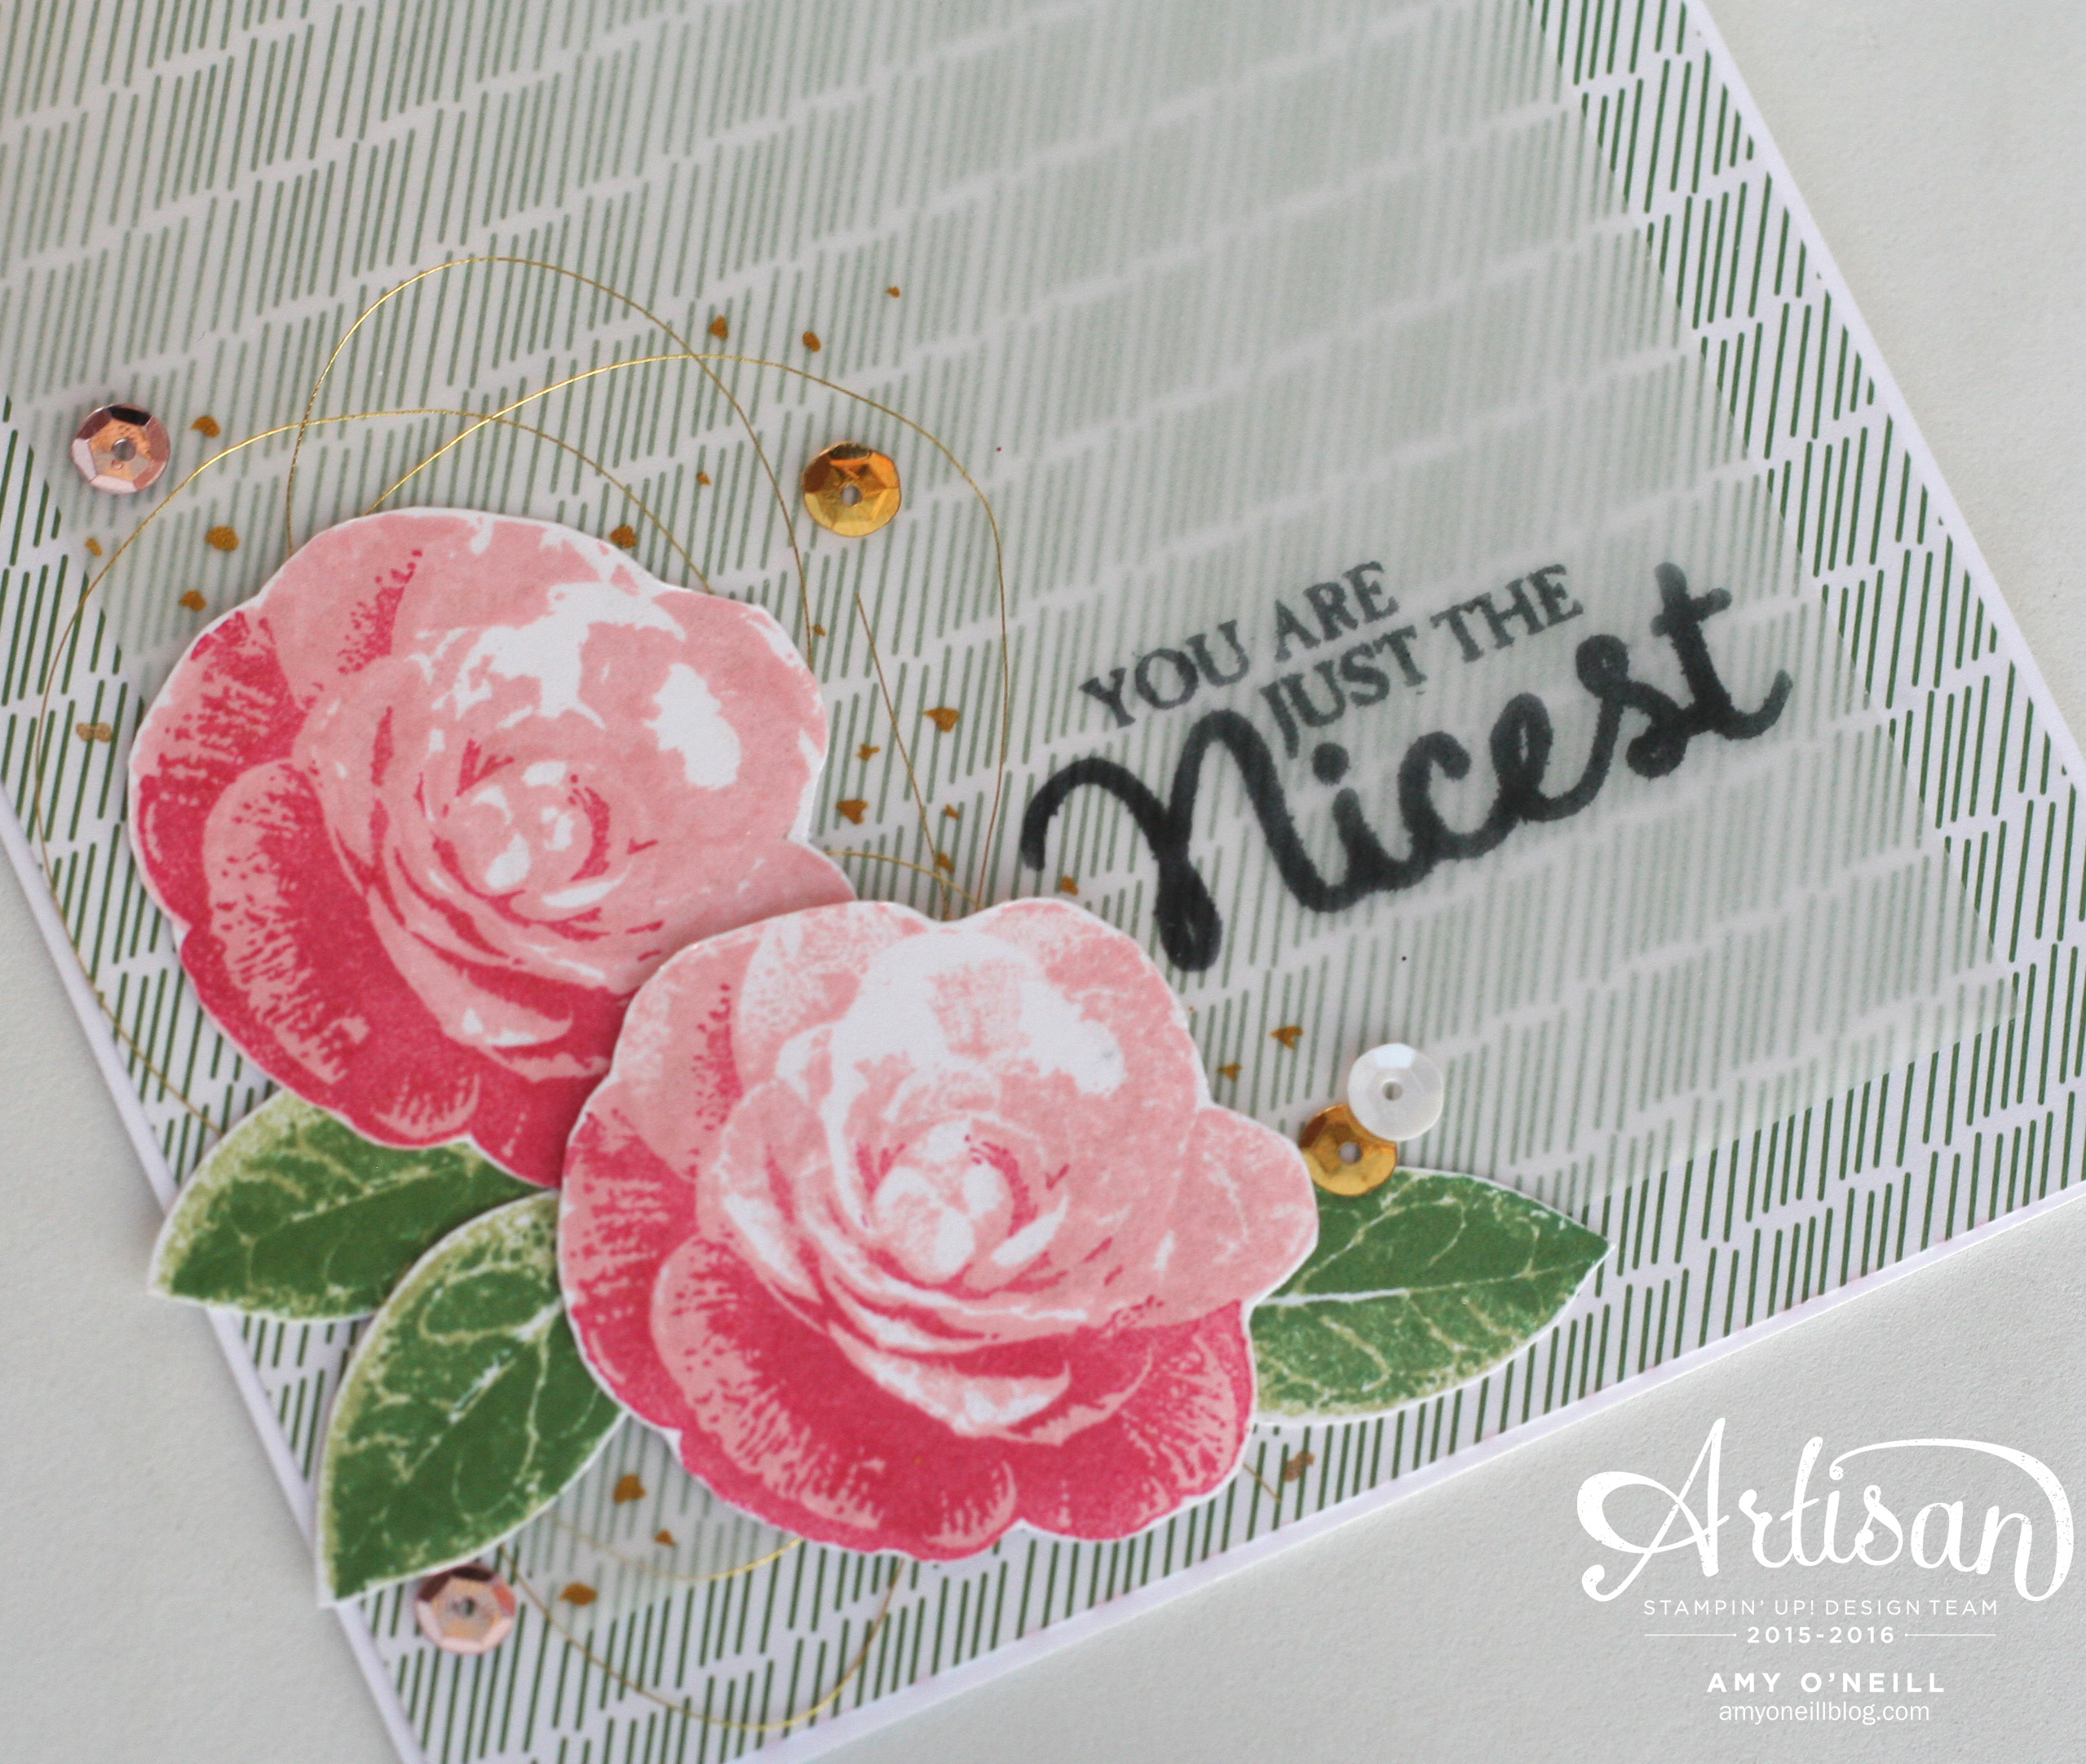
The sentiment is from the Rose Wonder set and so is the label border.

Helping Me Grow with Sympathy Close UpI kept this card really simple and the embellishments to a minimum because of the occasion.

You’re ready to hop on over to Breelin Renwick’s blog.  I always love seeing what she makes!  If you prefer to work your way backwards, you can jump back to Wendy Weixler’s blog.  Either way, be sure to work your way through all of the blogs so you don’t miss a thing!

mondaymontageback (1)mondaymontagenext copy

Enjoy your Monday!  Thanks for stopping by!

Love You Birthday Blooms — Stampin’ Up! Artisan Blog Hop

Welcome to another Stampin’ Up! Artisan Design Team Blog Hop!  There are 20 of us from around the globe who will be sharing our projects with you twice each month.  All you need to do to follow along is click on the link at the bottom of each post.

With Valentine’s Day being less than two weeks away, I’ve been focusing on cards and gifts for this occasion.  I wanted to make something pretty and feminine for my mother-in-law, so I pulled out my Birthday Blooms stamp set and made a square card, just to be a little different.

Love You Birthday BloomsI colored the image with an aquapainter and Watermelon Wonder and Old Olive inks.  I used the gold Wink of Stella  Glitter Brush for the center of the flower to add some fun shimmer.  After I hand cut the flower, I placed it on top of a die-cut heart using the Bloomin’ Heart Thinlits Die.

These layers were placed on top of a layer of the Fancy Foil designer vellum paper.  I attached some Gold 1/8″ Ribbon and Gold Sequin trip with a Bow Paper Clip Embellishment.

The sentiment was stamped on Basic Black card stock with Versamark ink and embossed with white Stampin’ Emboss Powder.  It comes from the Bloomin’ Love stamp set.

Love You Birthday Blooms Close Up

You’re ready to hop on over to The Netherlands and visit Chantal de Kaste’s blog by clicking on the link below.  You can use Google Translate for any blogs for which you need translation help.  It’s so fun to hop around the world!

Bloghop button_0915

Enjoy your Thursday!  Thanks for stopping by!

The Love Between Us — FMS222

It’s time for another sketch challenge over at Freshly Made Sketches! And this week our talented Australian queen of fabulous layers and beautiful cards, Narelle Farrugia, has a great sketch for us:

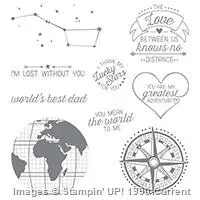
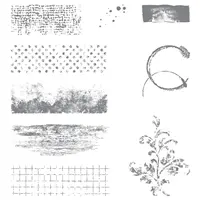
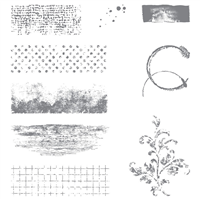
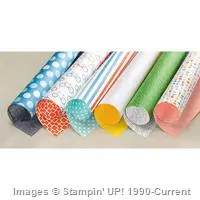
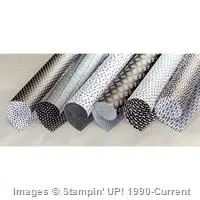
I pulled out my Going Global stamp set and Perfectly Artistic dsp (hurry!  This paper is only available for two more weeks).  I stamped one of the images on the dsp and added some splatters.

Love Between UsI inked the image using my Stampin’ Write Markers, added a scrap strip of Going Places dsp and a little ribbon.  I cut out the Love banner and popped it up with a dimensional.

Love Between Us Close UpWe hope you’ll join us and make your own card using the sketch!  You can venture over to the Freshly Made Sketches site for a big dose of creative inspiration from the design team.

Enjoy your Wednesday!  Thanks for stopping by!

You’re Just the Sweetest

One of the stamp sets that I really loved at first sight in the Occasions catalog is the Apple of my Eye set.  The images are cute and I love the sweet sentiments.  I finally got a chance to play with it last week, and this is the first card I made with it.

Sweetest OrangeI started by inking the entire stamp with a Pumpkin Pie ink pad and then used a sponge dauber to add some Tangelo Twist ink to the edges.  Very easy!

Sweetest Orange Close Up

I added some fun embellishments and some Have a Cuppa dsp for the background.  Little scraps of dsp from the Pretty Petals dsp stack and Everyday Chic dsp were used as well.

Enjoy your Sunday!  Thanks for stopping by!


He’ll be 17 (Eeek!) — FMS221

It’s time for another new sketch at Freshly Made Sketches, and this week our friend from New Zealand, Karren Johnson, is our hostess.  And she has a great , clean and simple sketch for us.

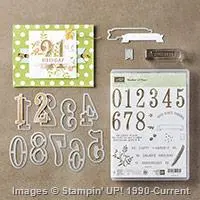
I decided to make a birthday card for my oldest, who will be turning 17 next month. WHAT?!!  I’m not sure how that happened so quickly, but there it is.

I pulled out two new stamp sets, Number of Years and Timeless Textures to make his card.  I went with a color scheme of Basic Gray, Crushed Curry, and Real Red.

Look 17I started by stamping the numbers on Whisper White card stock and cutting them out with the coordinating Large Numbers Framelits Dies.  I then embossed the sentiment with White Stampin’ Emboss Powder.  I stamped the grunge-y textures with Versamark ink, and then placed the elements on top.

Look 17 Close UpThe background dsp is from the Schoolhouse dsp pack.  A pretty quick and easy card!

We hope you’ll join us and make your own card using the sketch!  For a dose of inspiration, hop over to the Freshly Made Sketches site to see what the other design team members made.

Enjoy your Wednesday!  Thanks for stopping by!

No Road is too Long — Monday Montage #61

Monday Montage Banner -- October

Welcome to another Monday Montage blog hop!  We are a group of ten stampers who love to share what we create with you, and all you have to do to follow along is to click on the links at the bottom of each post.

I am trying to get a little ahead on my Valentine’s Day cards.  My older daughter’s birthday is on that day and my son’s birthday is two days later.  So it’s a busy week in our house!  I don’t want Valentine’s Day to get lost in the shuffle, so I need to do some prep ahead of time.

I decided to make a Valentine’s card for my husband using the Beautiful Ride stamp set.  I love this cute little car!  My next-door neighbors in the small town where I grew up had VW bugs, which they used as delivery vehicles for their pharmacy store.  Yes, pharmacies used to deliver your prescriptions to your home!  Since their family had several of these fun cars, there seemed to always be at least one parked in their driveway.  Now, whenever I see a VW bug on the road, I always think of their sweet family.

Sorry for the trip down memory lane!  I decided to use a sheet of the Going Places dsp.  Not only does it have some prints which are perfect for masculine cards, but it has some sheets that look like maps, which I thought would pair perfectly with the car.

Good Company Love BugI crumpled up the piece of dsp and then flattened it out before adhering it to the card base.  I then stamped the image on some Watercolor Paper and colored it with an Aqua Painter and Pool Party, Basic Gray, Smoky Slate, Real Red, and So Saffron inks.

The sentiment was embossed with black embossing powder on Real Red card stock.  I added a little washi tape, Silver Metallic Thread, Silver Foil Sheet (punched with the Banner Punch), and staples.

Good Company Love Bug Close UpThis was a pretty quick card to make, and it was fun to color.

You’re ready to hop on over to Breelin Renwick’s blog.  I always love seeing what she makes!  If you prefer to work your way backwards, you can jump back to Wendy Weixler’s blog.  Either way, be sure to work your way through all of the blogs so you don’t miss a thing!

mondaymontageback (1)mondaymontagenext copy

Enjoy your Monday!  Thanks for stopping by!

You’re Lovely — FMS220

We’re ready with another sketch challenge for you over at the Freshly Made Sketches site today.  And this week, our Canadian friend, Jen Brum, is our hostess.  Look at this fun sketch she has for us:

I think Jen has been secretly abducted by aliens and replaced with an impostor because this sketch has six circles, and Jen has a strong aversion to circles.  That’s the only way I can explain it.  😉  Regardless,  I love the sketch and thought of several different ways to approach it.

You're Lovely

I ended up pulling out my Balloon Celebration stamp set, and repeatedly stamping and embossing the circles.  I then watercolored over them, using the emboss-resist technique.  I used a color combo of Watermelon Wonder, Daffodil Delight, and Bermuda Bay.

You're Lovely Close UpI stamped and embossed the sentiment from the You’re So Lovely stamp set.  The banner frame comes from that stamp set as well.  It has a coordinating die in the Large Numbers Framelits.

We hop you’ll join us and make your own card using the sketch this week.  We love looking through the gallery!  Meanwhile, you can jump over to the Freshly Made Sketches site to see what the design team did with all of those circles.  You’ll be inspired!

Enjoy your Wednesday!  Thanks for stopping by!

Love Blossoms — Stampin’ Up! Artisan Blog Hop

Welcome to another Stampin’ Up! Artisan Design Team Blog Hop!  There are 20 of us from around the globe who will be sharing our projects with you twice each month.  All you need to do to follow along is click on the link at the bottom of each post.

For this blog hop, we were asked to focus our projects on the Love Blossoms Designer Series Paper Stack.  I decided to make a little treat bag and coordinating card using this paper and the Picture Perfect stamp set.

Love Blossoms Focus -- GroupI used the Mini Treat Bag Thinlits die to cut out the bag.  I love how the paper is double sided, so you can see little peeks of the other pattern on the inside of the bag.

Love Blossoms Bag

I cut out some banners and layered those together.  Then I stamped the flowers and cut them out by hand layering them on the banners.  These flowers are three-step stamping and were created using Blushing Bride and Rose Red inks for the flowers and Garden Green and Pear Pizzazz for the leaves.

Love Blossoms Bag Close Up

I also used the Love Blossoms Embellishment Kit for some of the fun accessories on this bag.  See the little string of pearls, the sequins and bows — all from the kit.  I also added some gold spatters using the Wink of Stella Glitter Brush.

I wanted to make a card to go with this little gift.  Because there are so many coordinating papers in this designer series paper stack, it was easy to make a card that coordinates without exactly matching.

Love Blossoms CardI started by adhering the dsp to the card base and then layering a piece of vellum card stock on stop of it.  The flowers were made the same way as those on the gift bag.  I just added some Gold Metallic Thread under the flowers on the card.

Love Blossoms Card Close UpYou’re ready to hop on over to The Netherlands and visit Chantal de Kaste’s blog by clicking on the link below.  You can use Google Translate for any blogs for which you need translation help.  It’s so fun to hop around the world!

Bloghop button_0915Enjoy your Thursday!  Thanks for stopping by!

The Sky is the Limit — FMS219

So have you gotten back into the swing of things now that the new year has started?  It has been tough for me, but I must say that it is nice to be back in a routine.  And speaking of nice routines — it’s Wednesday, and that means that there is a new sketch challenge at the Freshly Made Sketches site.  This week, our Floridian friend, Cindy Hall, is our hostess and she has a great sketch for us:

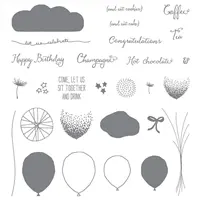
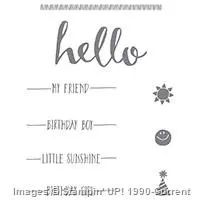
I took a few liberties with the sketch.  But hopefully, you’ll be able to see the sketch in my card.  I wanted to use the new Sale-a-Bration set, Sky is the Limit, because it is a limited time only set, and will only be available through February 15.

The Sky is the LimitI started by cutting out an oval using the Ovals Collection Framelits and sponging on some Soft Sky ink.  I then stamped some clouds from the stamp set with Lost Lagoon ink.  I stamped the airplane on a piece of scrap card stock and fussy cut it out, and then placed it on with a Stampin’ Dimensional.

The strip of dsp is from the Everyday Chic dsp collection.  I layered a piece of vellum over the card base to soften things up a bit.

The Sky is the Limit Close Up

We hope you’ll join us and make your own card using the sketch and post it to the gallery.  We love seeing what you create!  Meanwhile, be sure to go by the Freshly Made Sketches site and see what the design team has been up to.  You are sure to be inspired!

Enjoy your Wednesday!  Thanks for dropping by!

A Sale-a-Bration Hello — Monday Montage #60

Monday Montage Banner -- OctoberWelcome to another Monday Montage blog hop!  We are a group of ten stampers who love to share what we create with you, and all you have to do to follow along is to click on the links at the bottom of each post.

We are now into the first week of the Occasions catalog and Sale-a-Bration.  Woohoo!!  I love this time of year!

Three of the Sale-a-Bration offerings are only available for a short time (until February 15) this year, so be sure you don’t overlook these when ordering.  I used one of these sets, Hello, for my project today.  My daughter has a birthday next month, and I thought I would get a little ahead of the game and make her a card and gift bag.

SAB Ensemble Hello

I paired this stamp set with some fun dsp from the It’s My Party dsp stack, which is available in the Occasions catalog.  These projects use a color scheme of Mint Macaron, Crushed Curry and Melon Mambo.

SAB Hello Card

I started with a Mint Macaron card base, and then embossed the sentiment with White Stampin’ Emboss Powder on a piece of Watercolor Paper.  I then brushed on some Mint Macaron ink to create a washed background.

SAB Hello Card Close Up

A strip of It’s My Party Designer Washi Tape and dsp was layered over the Watercolor Paper.  I then added some of the fun It’s My Party Enamel Dots.

SAB Hello Bag

A Petite Cafe Gift Bag was decorated with some of the It’s My Party dsp, stamps from the Hello set, and It’s My Party Designer Washi Tape across the top.  I finished it off with some Crushed Curry Baker’s Twine and a Clothespin with an In Color Blossom Accent attached.

SAB Hello Bag Close Up

I hope these projects have you excited about Sale-a-Bration and the Occasions catalog. There are so many great offerings from which to choose!

You are ready to hop on over to the super talented Breelin Renwick’s blog for a big dose of creativity.  If you prefer to work your way backwards, you can jump over to Wendy Weixler’s amazing blog.  Either way, be sure to work you way through all ten blogs.

mondaymontageback (1)mondaymontagenext copy

Enjoy your Monday!  Thanks for stopping by!